
Ever since I got serious about my sewing, I realised that making clothes for yourself really requires a dress form, you just can’t fit properly on your own body. This post is the story of how I went about bringing one into my sewing life.
As with almost anything nowadays, it all starts with a lot of research, i.e spending hours and hours on Google. I looked at all possible models, adjustable, professional ones, DIY, you name it. I made my mind and changed my mind and made my mind and changed my mind again, bid on numerous eBay ones that I didn’t win, spoke to Ali Baba sellers (I know, I plead insanity), until I came across this article on Threads. Enter idea on making a dress form myself. The beginning of the end, one might say, but still, here I am, blogging about it, with something to show for, so all is well that end well.
The thought process:
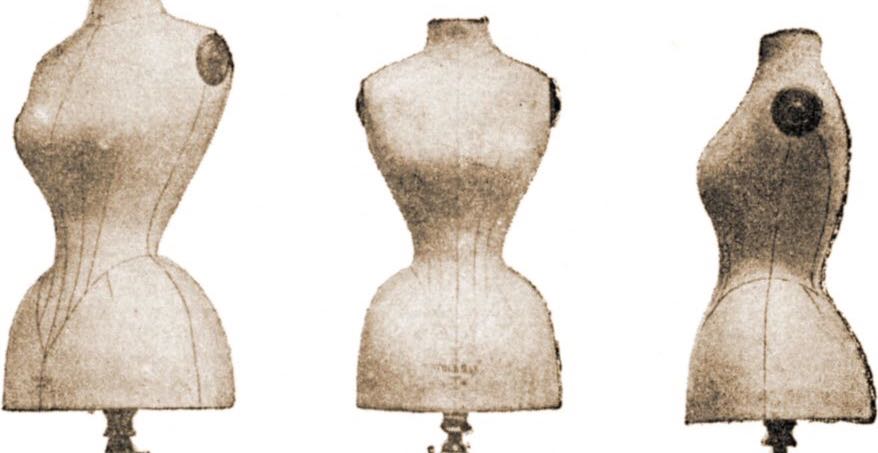
Why did I go for the custom-made option? Mainly, because I’m crazy and stubborn and once I got the idea in my head, it would just not go away, in spite of various misadventures (keep on reading!), not necessarily coming off cheaper and putting in a lot of time and effort. I have seen the current mid-range retail options (of the Adjustoform ilk) 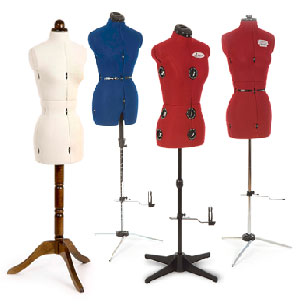 or the high-end, proper ones (especially Kennett & Linsell). The first ones seemed flimsy and too samey, that is, for the average Jane (and I had it in my head that my body really is not that average – obviously all in my head). Also, I am sewing mainly for myself, so the advantage of being able to change it for different persons did not really apply. The proper professional ones were way too expensive. Since then, I had the chance of working with a Kennett & Linsell, and I fund that I really didn’t like how stiff and unpinnable it was. Though the collapsible shoulders are awesome.
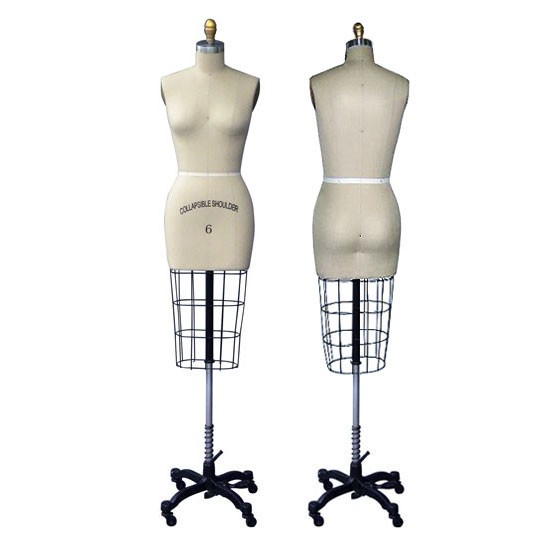
When it comes to custom-made dummies, there are several DIY options available:
– Duct tape/parcel tape Pros: cheap, not too messy to make, you can easily make another one if you change shape. Cons: can get easily bent out of shape, not too pinnable, pins get gummy and dirty, a bit flimsy and will need some rigging to get on a stand.
– Papier-mâché I had discarded this option as it seemed really messy and I had only seen one brief reference to it.
– Professional body cast I have actually made enquiries to have a professional body cast made that could then be filled with foam. Obviously, it would be less messy (their place, not yours), more professional, but the price was prohibitive, around £400, and that was just for the mould. To this, you would have to add the price of the foam.
– Plaster cast Pros: accurate representation of the body, durable, extremely pinnable, light. Can be done for under £100. Cons: very messy to make, extremely time-consuming.
Have a look at this very comprehensive Pinterest board on DIY (mostly paper and duct tape ones).
Also, worth noting that there is an in-between option, i.e customising an existing retail mannequin, either a dress form or adjustable one, with foam packs such as this (other options available, I think I’ve even seen some on Amazon). The other way would be to create a sloper and fill it with padding until it replicates your body, but somehow that never appealed to me. There are a few tutorials available if you google it.
So bottom line, I decided to go for the plaster cast option, though probably not the easiest, it ticked my boxes: accurate representation of my body and pinnable, plus relatively durable (trust me, you want to be doing loads of these, even the duct tape ones). I have posted more details about how I made it here.
The whistle-stop process:
It all boils down to: make a body cast of your torso, up to mid-thigh, cut it off your body, sew it back together, fill it with expandable polyfoam (like the one used for plumbing, double glazing mounting and loft insulation), stick it on a pole with a base, make a cover and voila, an exact, accurate mini-you!
In my case, this involved my trusted assistant wrapping me up in plaster of Paris strips (similar to the ones used to when you break an arm or a leg), whilst covered in Vaseline (I know you’re thinking dirty thoughts right now!). Unfortunately, the first attempt resulted in me fainting (as in one second you’re standing, the next thing you know, you’re green, lying on the bathroom floor). To this day, I’m not sure what he was more concerned about: me being injured, the project being ruined (which it did in the fall) or having to explain to the paramedics that I got injured while working on crafts projects, not some kinky games (luckily, this was not necessary, as I came to quite quickly). Take 2 was a bit more successful, as I still fainted, but managed to rescue the cast and continue. Unfortunately, I was not very lucky with the foam pouring part, as the form came out with a weird stunted neck, so I decided to have another go (though it took me 2 months to convince C to have another go at it). Finally, take 3 was successful, no fainting, good cast, good form, though it took a really long time to get it finished. I am really happy with the final result, it’s a great little mini-me, though yet unnamed.
If you want to know the ins and outs, watch this space, I’m putting together some more detailed tutorials. Here’s part 1, How to make the mould and Part 2, How to fill the mould with poly foam.
Happy sewing (and dress form choosing or making 🙂 )!

This made me smile, I definitely want to know how you finished your form successfully. I relented and bought one but it’s not me – the boobs are definitely perkier than mine and the shoulders aren’t right.