
As you might have found out in one of my previous posts, I have gone through what I can only call a period of insanity and DIY-ed my own custom dress form. It came out so great, better than I could have ever hoped, so I thought I would share my experience with the world. I have seen a few attempts here and there, so very curious to swap notes and anecdotes (there must some, you can’t do this without adventures!!).
This is part 1 (of 2) as the initial post ended up being too long. This was because I tried to describe the process as best as I could in words, as I had not taken enough pictures while making it. I never imagined I would end up blogging about it so you will have to forgive the slip. Check out part 2 here.
A word of caution: this is not a proper tutorial, as I didn’t take enough pictures in the making process, but it will give you a fairly accurate idea of what it entails. And it’s very wordy, as I tried to be as detailed and specific as possible.
Also, think twice before starting this, as it’s really really messy, and I fainted twice while making the cast (though I now have really great tips on how to avoid this). Please get in touch if you have any questions, though I have a feeling this might put people off ever going anywhere near this. If you want to read about what made me decide to do one, have a look at this post.
Inspiration
Of course, before I took the plunge, I managed to find quite a few blogs where brave adventurers have attempted something similar, with various degrees of success. Here’s a run-down of the most useful resources.
Sew, not work post – the main source of inspiration
Joost’s men version – probably the best but unfortunately, I found this after I had done mine
Youtube body casting video (careful, it involves a naked lady being wrapped up in plaster)
Jezebel blog
The Amazing Mrs. O
Googling Diva
Two girls and a pin
This should have actually scared me, but it made me even more determined: if they succeeded, so can I.
Process summary
1. Gather all the necessary materials
2. Prepare the workplace
3. Prepare the plaster bandages
4. Start wrapping
5. Cut the cast off
6. Smooth the inside of the cast
7. Let it dry
1. Materials:
The most difficult part was identifying the supplies and materials, as all the previous examples were from the US, and I had no idea what the corresponding brands would be in the UK. This is what I ended up using:

– Medical grade plaster tapes – from eBay. You definitely want medical grade plaster, not craft tape (Modroc), as it dries quicker, it’s better quality and it produces a smoother finish. They come in rolls of 10m, individually wrapped. Ideally, get the widest tape you can find (either eBay or medical supply stores), but if you can’t find the 27cm wide just get a few more rolls to make up the difference. I got a box of about 60 rolls and used about half, but better to get more and have to spare than to realise in the middle of the project that you haven’t got enough.
– Vaseline (the classic petroleum jelly stuff, not any fancy cream stuff) – I know this sounds dodgy, but you will not be able to take the cast off without it. A small jar will be more than enough. Some people have used dry-cleaners bags instead, see Sew not work blog.
– Medical scissors – I cannot underline enough how important it is to get an angled pair of scissors, you will not be able to cut the cast off without nipping something you don’t want to be nipped with a regular pair of scissors. You will also need a pair of regular scissors to cut the plaster tapes to size before you start

– Medical tape, masking tape or similar – you will need this to stick to your centre front and centre back, to protect from the scissors and guide while cutting the cast off
– A permanent marker – you need this to mark the centre front of the cast for later assembly.
– A large plastic bowl – to get the plaster strips soaked before applying
– Bin liners – to cover up any floor space in the room you will be working in.
– Old underwear you don’t mind throwing away afterwards (they will not be salvageable).
– Rubber gloves – for the person doing the plastering, the wet plaster is very harsh on the hands
– A willing friend (it better be someone close, as this get pretty intimate at some point)
– 500gr of powder plaster of Paris, a kidney tool and a rubber mixing bowl
2. Prep
Location: We used our very tiny bathroom, for fear of ending up with plaster all over the house. As I said before, it is messy, so choose a location that can be protected well or you don’t mind getting dirty. Also, bear in mind you will be naked or half naked, so it needs to be somewhat warm, unless you do it in the summer, when it really doesn’t matter. My attempts were in Nov and Feb, so warm was a good thing to be. Also, experience taught me that it is good to be somewhere well ventilated or near a window, it helps with the fainting part. Or have a hand-held fan handy.
Wherever you choose to do it, make sure it’s covered in bin liners, as there will be a lot of plaster-filler splatters and they are not fun to clean.
3. Plaster
Unfold the rolls and cut up strips of various lengths and arrange them in separate piles. Make sure you fold them in at least 3 layers that will be used in one go, it will make the cast more solid. Regular scissors can be used for this. Cut a lot of strips, as you don’t want to run out in the middle of the casting, it’s really not fun and you don’t want to be in it for longer than necessary. Make sure you save a few plaster strips for when you need to put the cast back together.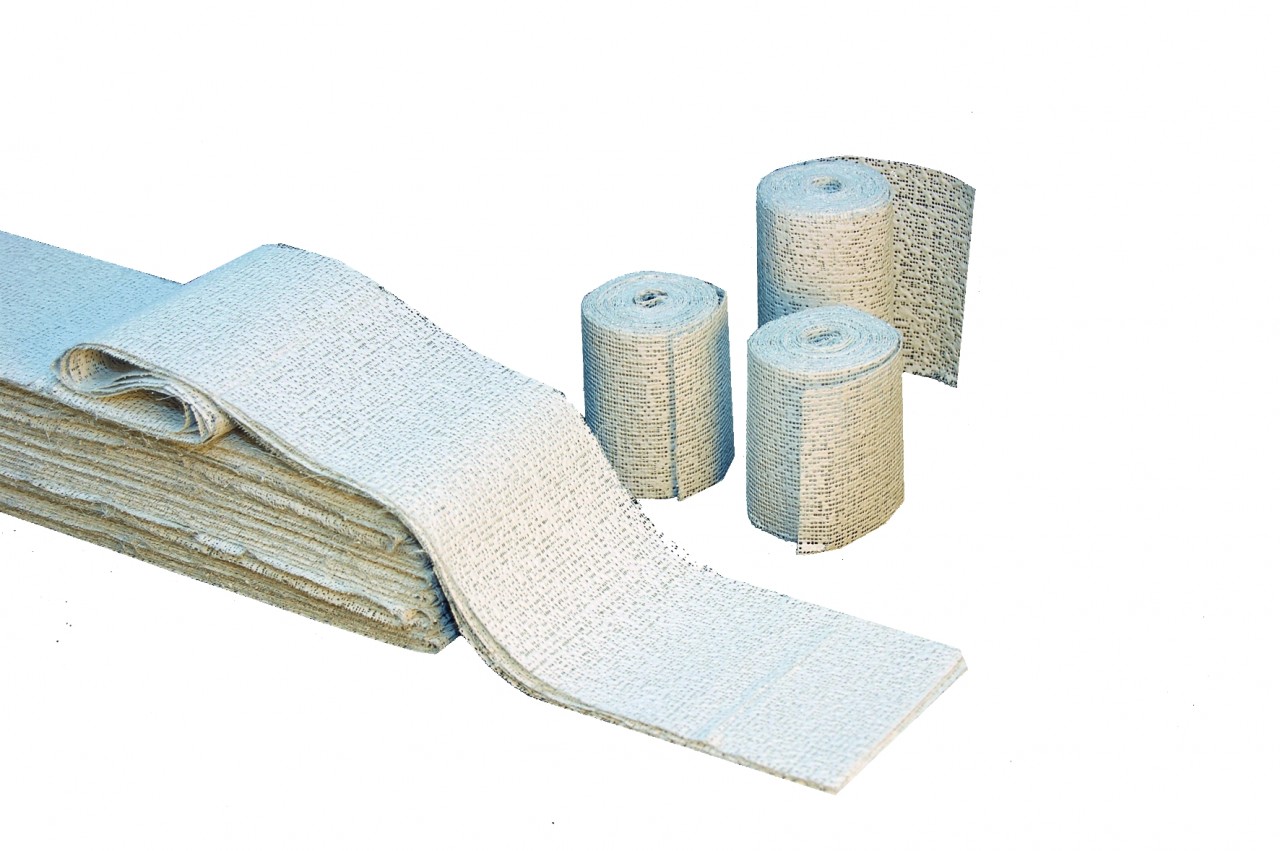
Important not to get the plaster wet before the strips will be used, as the chemical reaction is activated by water and it will harden before you start using it. You will need a large bowl of water handy. The temperature of the water affects the drying time so the hotter the water, the quicker the plaster will dry. I started with tepid water and then went progressively warmer so that all the layers dried at the same time when all the body was covered up. It is better to use a bowl instead of the bathroom sink for example, as the plaster will end up clogging your drains.
Make sure you have all the tools mentioned above ready before you start. Make sure you use the toilet before you start, it can take between 20 and 40 minutes, depending on how fast is the person helping with the casting.
4. The wrapping
Wearing underwear you don’t mind getting dirty, start rubbing Vaseline all over the areas that will be covered in plaster. Make sure your hair is safely out of the way, you really don’t want plaster getting on it. Put Vaseline on your underwear as well.
Needless to say, but the model needs to be standing at all times, maintaining good posture, so not too much slouching, though that will happen as you get tired. Someone advised wearing heels if you can, as it improves posture, though I didn’t. Also, try not to lock your knees too much, it also affects posture.
Start putting the longest strips in an X pattern from left shoulder to right hip, back and front, then right shoulder to left hip. This will be the supporting structure of the cast. Then start from the mid-thigh, plaster long horizontal strips, making sure they overlap at the sides. I don’t think there is a hard and fast rule about how to do this, so long as you get a solid structure that has no weak points where it can come apart once dry. Have a look at the videos and tutorials. You will see that all of them started on the chest, but that is the reason I fainted, so I definitely recommend starting with the bottom first and leaving the chest absolutely last.
Also, the body casting video suggests making 2 sides, as opposed to one continuous cast that will end up being cut. I tried both options and I definitely think the later is better. My two sides ended up not matching very well at the sides and the neck ended up all warped, so I had to destroy the first attempt.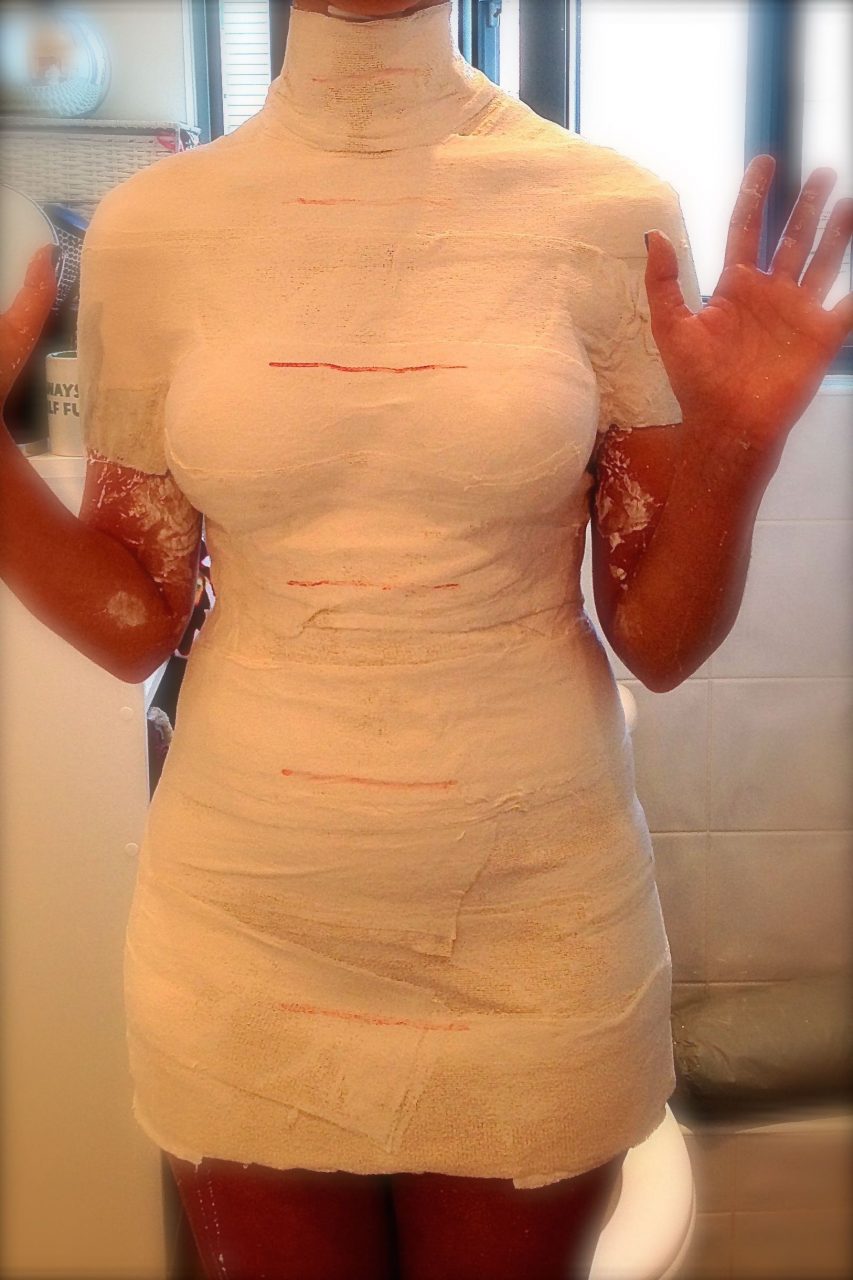
The arms can be a bit tricky, I ended up doing them like a capped sleeve, covering the tops of the shoulders and going down for about 10 cms. Keep the arms close to the body so you will not be actually forming a sleeve, but joining the ‘sleeve’ to the body.
Make sure you include the neck as high as it will go, and connect it well to the body. This is important when pouring the foam.
5. Cut it out
Once everything is well covered, let dry for as long as it takes to feel solid, even if the surface feels damp still. Before you start cutting, make sure you have marked horizontal lines perpendicular to the centre front and back, this will be very useful when sewing the cast together.
You need to be careful when being cut out not to deform the cast, especially at the neckline and arms.
Once removed, as it will be damp, make sure you store it lying down and don’t handle it too much until it is completely dry. I let it dry for a week, but it should be ok to handle after 48h.
6. Smooth it out
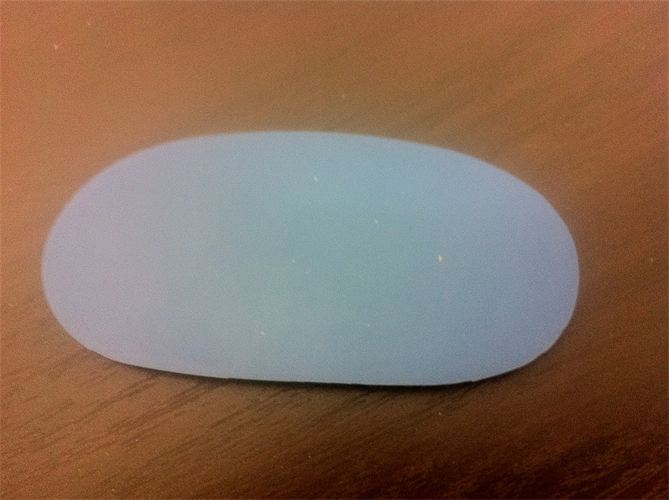
Once it can be handled, you will need to smooth any internal imperfections with powder plaster of Paris mixed with water, using a kidney tool, similar to plastering walls. The Livecast video describes this very well, so have a look at it again. The idea is to make sure you have as smooth a surface on the inside of the cast as you can get. Make sure you pay special attention to any bra or pants marks, fill them in or they will show on the final cast. I will just say to make sure you move fast or work with really small quantities, as the plaster hardens really fast. Also, don’t mix in a hard bowl (ceramic or plastic), unless you’re happy to throw it away.
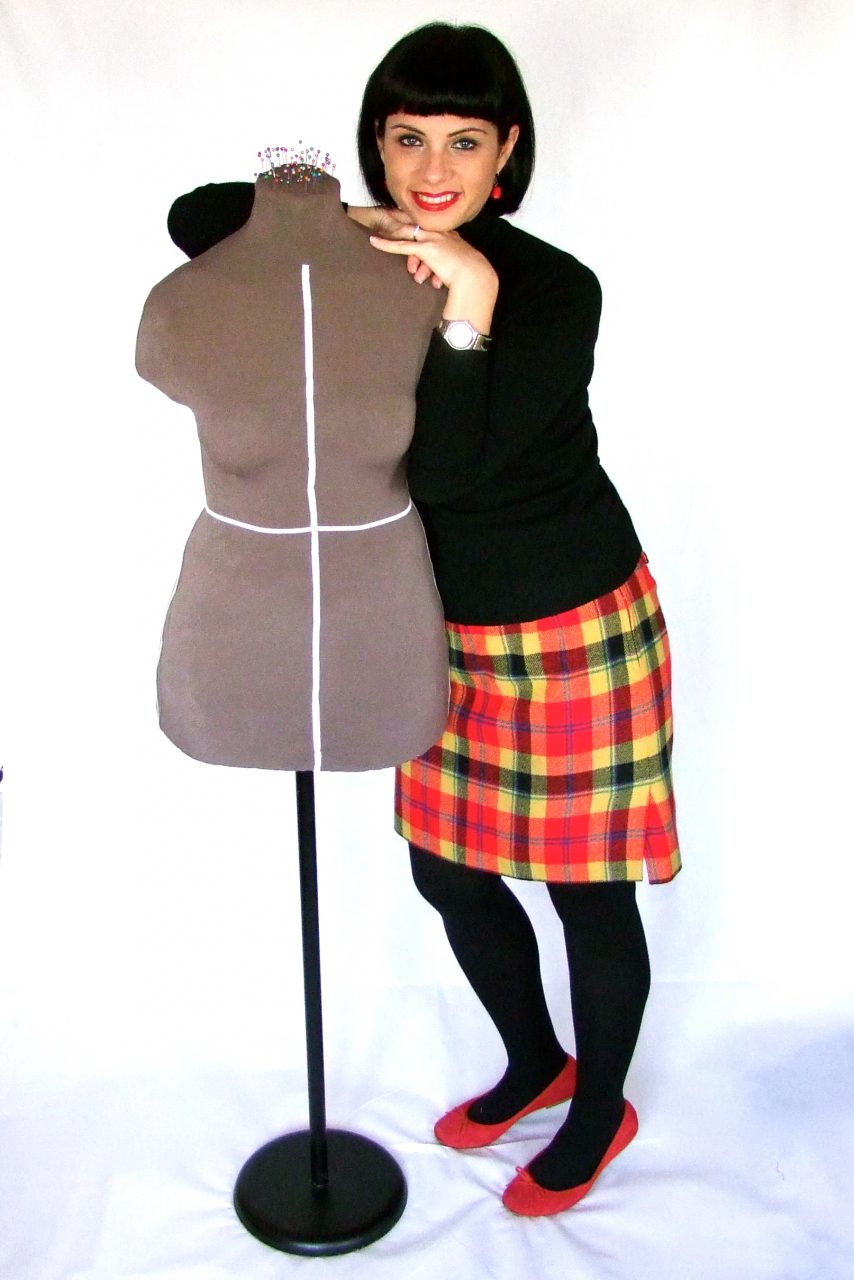
To give you confidence that there actually was a positive outcome, here’s me with the finished dress form:
You can check out how it to fill the mould, release and mount it in Part 2 here.
If you found this useful, please take a second to share this on Pinterest.
ENJOYED THIS POST?


What a great dress form! Glad you were able to persevere! I’m happy with mine. I’m considering making another one.
Author
Thank you! You were definitely the original inspiration, I never would have even tried if you had not proved it’s possible! I only wish I had taken more pictures while making it, but I never imagined I would end up blogging about it…
Alex, I’m very interested. Made one of duct tape but she keeps listing and pinning into it is a nightmare. All the pins get gummy. Questions Do you remove the plastic foam from the plaster tape? If no, can you pin into the plaster tape? What price did you pay for the rolls of tape. I am seeing on ebay for three hundred plus dollars.
Author
Hi Patricia,
I have just updated part 2 of the dress form tutorial on how to release and mount the dummy.
So yes, you will have to removed the plaster cast and discard it and then sand the dummy to a smooth surface. This then needs to be dressed up in some sort of a cover afterwards, which you can make or buy. I made mine and it is absolutely fine.
I paid around £35 (maybe $60) for a whole box of tape, maybe 60 rolls, and that was more than enough, I still have loads to spare. Probably half would have sufficed. I got it off eBay in the UK. It was out of date medical tape that worked absolutely fine. Not sure where you could get the supplies in the US, but the lovely lady at ‘Sew, not work’ blog (see the link above), who inspired me to try mine, is American, so you could ask her where she got hers. What I would say is to use medical grade plaster tapes, not modroc or craft tapes. They are sturdier and dry faster, which is very important.
Please feel free to come back with any other questions, in a comment or directly on email via the blog.
Cheers,
Alex
Ebay http://m.ebay.com/itm/251800345885?nav=SEARCH
Wow! I’ll soon sand my too big polystyrene dress form to my size, but it if that doesn’t work I’ll try this!
Author
I’m not going to lie to you, it’s messy! But you can get amazing results. Give me a shout if you decide to do it, I am now older and wiser 😁.