
What do you do when your machine is not available?
Easy: START ORGANISING YOUR FABRIC!
A while ago, when Katie from What Katie Sews revealed her new sewing room, I noticed some nicely stacked fabric piles. They were rolled onto comic book backing cardboard. Now, after a bit of research, I realised that idea had been around for a while, especially in the quilting circles. And we all know, quilters have the biggest fabric stashes and if they think that’s a good idea, there must be something to it.
So I ordered myself a pack of 100 from Amazon (affiliate link). I know, quite a big gamble for an untested experiment, but hey ho, I couldn’t find them in smaller batches. And since I was all geared up and no machine to sew on last week, I might as well give it a go.
This is what they look like:

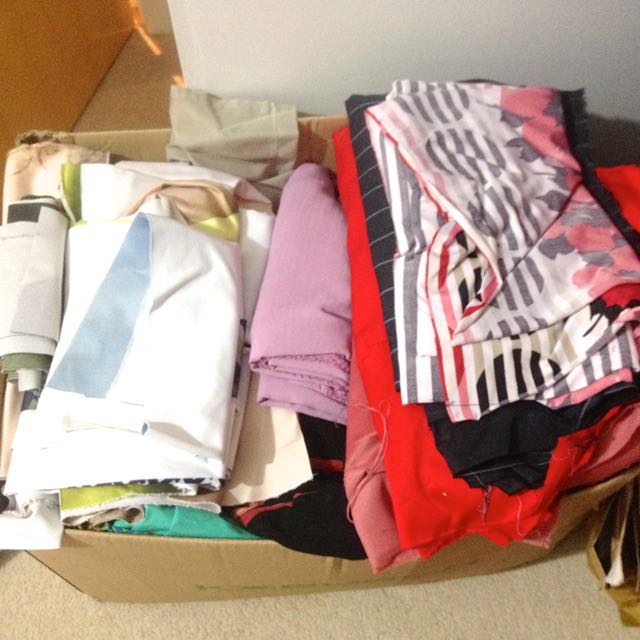
This is what we started with…
A large box of fabric that I acquired recently and never put away.
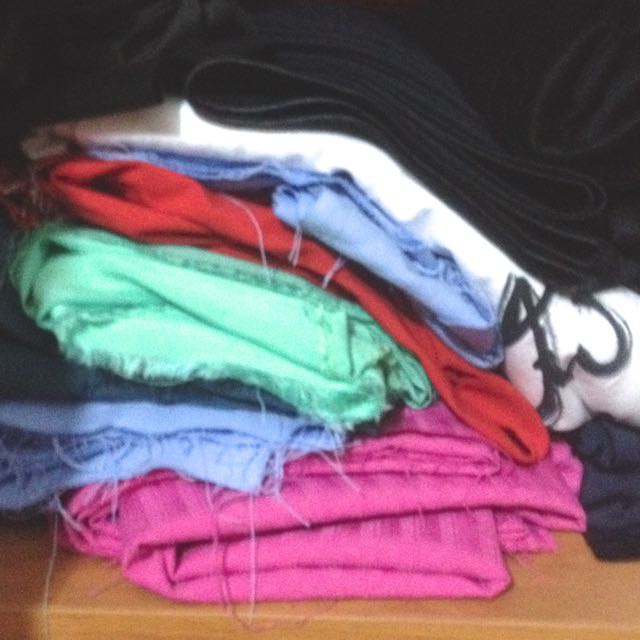
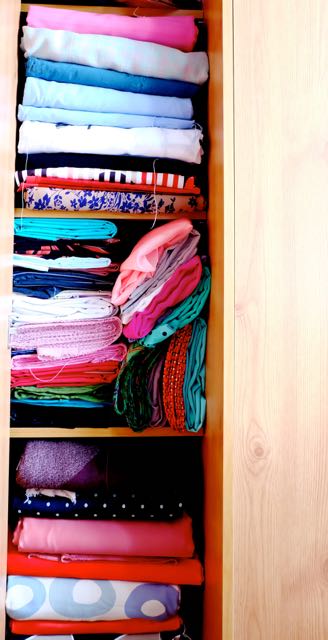
Plus the regular stash that is stored in a cupboard of 35 cm wide by 1.90 m long. I do try to keep that organised, but most times I just forget what I’ve got, as they are all rammed one on top of each other.
Something like this ( 1 of 3 shelves):
So, I decided that anything is better than this and proceeded to test how this min-bolting actually works. If you google it, there are loads of YouTube videos demonstrating how to do it, but I found that doesn’t really apply to the particulars of my stash. What I have seen online are mostly small pieces, 1-2 metres, whereas I usually have really large pieces, 3m and longer. Plus the majority are medium weight quilting cotton and mine are all kinds of thicknesses.
So by trial and error, this is what worked for me.
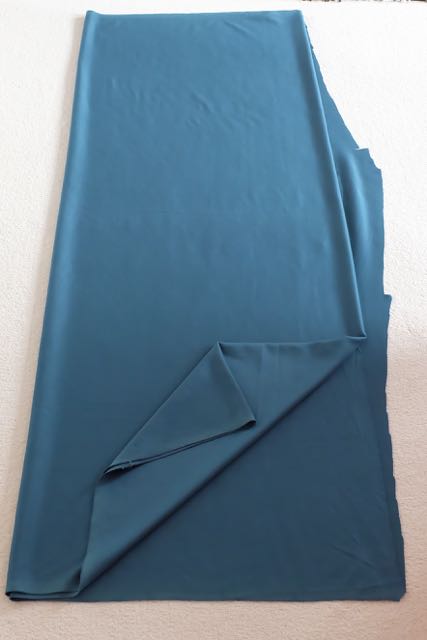
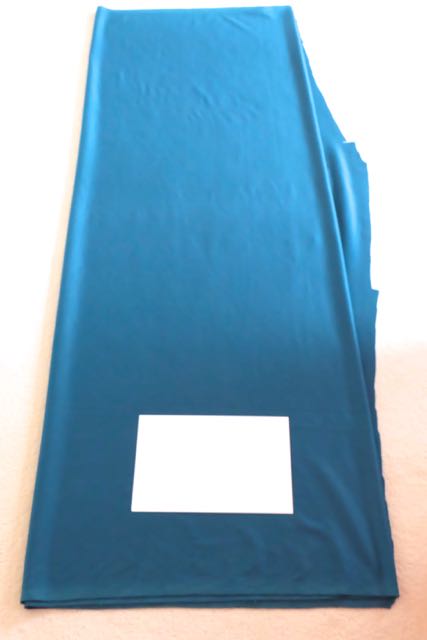
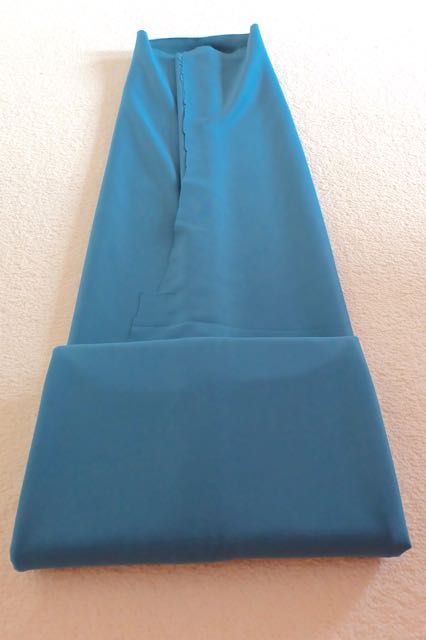
Step 1: Fold the fabric length, not width-wise, so that the selvedges are folded onto themselves, as opposed to each other (like you would to cut the fabric normally). There are about 3 metres in this piece, I folded it twice, obtaining a piece of about 75 cm. This helps not to have a too long piece to fold, it really gets boring when we’re talking 6-8m long pieces. Plus it also helps keep layers tidily together.
Step 2: Place the coming book card 15-20 cm from the edge of the fabric. This helps to start the rolling with a bot more purchase. Also, make sure it’s parallel to the top edge.
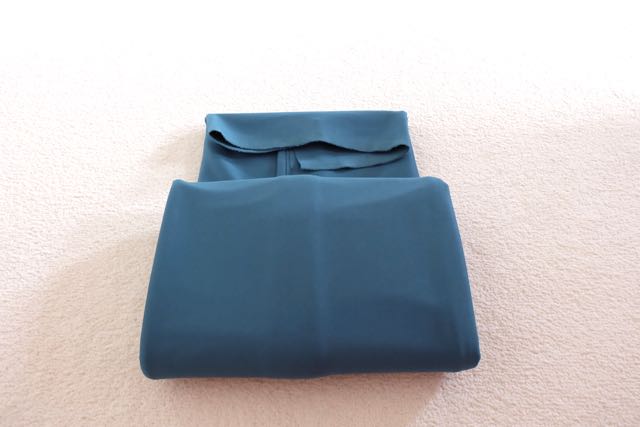
Step 3: Fold a third of the fabric over the card, so that it’s snug over it. 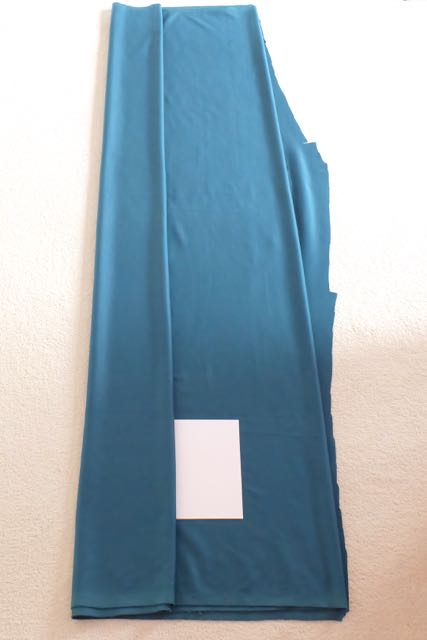
Step 4: Fold the other side in the exact same way, so that any unevenness at the edge of the fabric is inside the bolt and the edges are nice and even. You noticed that my fabric has quite a jagged edge, because I had already cut a piece out of it and that’s how the pattern went.
The perspective is a bit odd in the picture, but you should end up with exactly the same width on both ends.
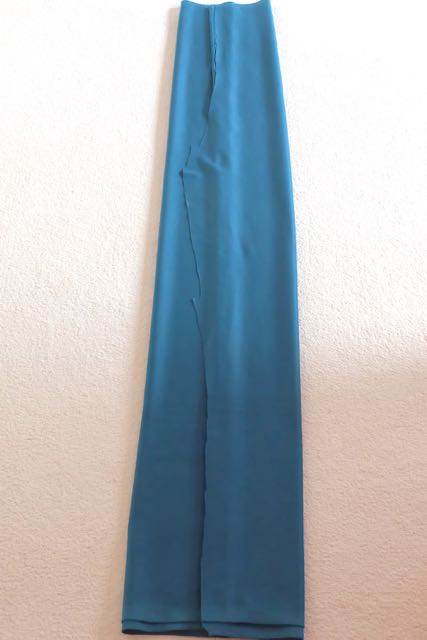
Step 5: Start rolling. Feel for the card inside and fold the fabric flap tightly over it.
The keep on rolling tightly and making sure the edges are even. Don’t pull too tightly though, as the card might buckle.
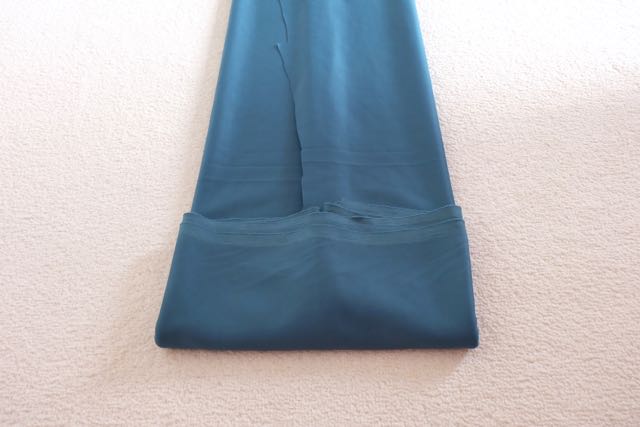
Step 6: Fold the other edge inwards and pin to secure.
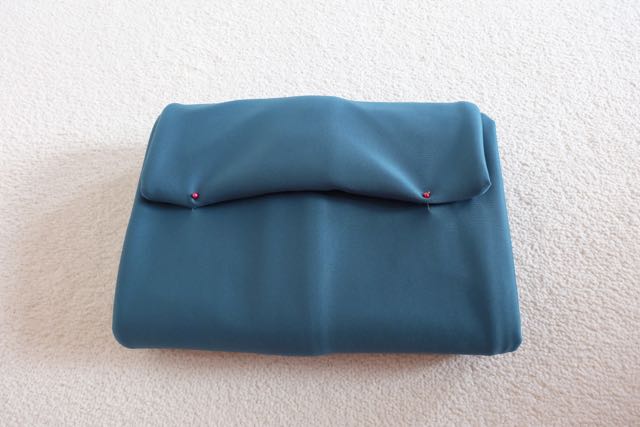
And there you have your new, tidy mini-bolt.
Now repeat about a hundred times….
This what I ended up with:
I still had the same 3 shelves to play with, so I had to double bunk quite a lot, but the mini-bolts are much easier to handle than previously, so I can get to the back if I need to. I have placed the heavyweight wool fabrics in the back, as I know I won’t be reaching out for them too soon, the jerseys and other lighter weight fabrics more up front.
I am fairly OCD, so quite enjoyed the activity, but not too keen on doing it again too soon. I also realised a few things about my stash:
- I have loads of red, black and green fabric – that’s really odd, as I did not go out of my way to get them in those colours
- I have close to none patterned fabric, which doesn’t really surprise me, I don’t like them too much
- I have nowhere near enough jersey!!
- I HAVE NO MORE ROOM for any new fabric, so I must do some stash-busting before I go anywhere near a shop
HOW DO YOU ORGANISE YOUR FABRIC STASH? DO YOU LIKE IT FLAT, ROLLED OR OTHERWISE? TELL ME IN COMMENTS.
————- DON’T MISS A SINGLE POST —————


Great tips. thanks!
That looks terrific! Go you!
I’ve also found that fabric shops are often willing to offer their discarded cores at no charge (usually the cardboard cores would go into the bin or be recycled anyway). The cores might take up more space than comic book cardboard but I’ve found that they are perfect for storing larger amounts of fabric. And you can’t beat the price.
Well, I found that there is always more room for new fabric! 😀
Thanks fro this, my stash needs re-organizing too.
Oh I always enjoy seeing how others organise their fabric! And I’ve seen a few people using comic book cardboard. When you pin your fabric at the end, I’d be a little worried about the pins leaving marks, depending on the type of fabric.
My sewing space is just in my bedroom and although I don’t have loads of space, the room has a built in wardrobe. I wasn’t using the hanging rail (since most of my clothes fit in my own separate wardrobe) so I began hanging my fabric in there. This way, I avoid it becoming dusty or faded from direct sunlight when on a shelf. Also, since my laundry basket and my jewellery are also hung in that wardrobe, I see my fabric almost everyday. It doesn’t stop me buying more though! I just have to keep buying more hangers.
That’s a neat way to store fabric. Good job!
Author
Thank you! Feeling a bit smug about my organising skills… In fact, it was just because I had nothing better to do while the machine was in the shop…😁