
Readers, last week I started running! And I made my own activewear. Now there are two things you would not have caught me dead saying – or attempting, for that matter. In both cases, it was easier than I thought. It was just a question of finding the right person to hold my hand while doing it. And in both cases, I found just that.
For running, it’s this lady called Laura (not even sure it’s her real name), who is the voice behind NHS’s Couch to 5k programme. No idea who she is, but she must be some sort of miracle worker to get me to start running. Readers, I am the opposite of a gym bunny, I used to totally dislike any form of exercise. Now, I’m not saying I am a fitness addict, but I am off the sofa and doing the programme (week one, so far) every other day. I even wake up at stupid o’clock to get it done before I go to work.
Now, I don’t know what the weather is like where you are, but 6 am in the UK in February is pretty nippy. So you need something to keep the cold away.
That’s where Melissa, from FehrTrade comes in. Melissa has been the activewear queen for a long time now. Well, she kinda needs to, she runs marathons and all that, plus representing the UK at the World Transplant Games, so she does need a fair bit of kit. At the end of January, she released her book, Sew Your Own Activewear, where she is sharing all her knowledge with anybody who is looking to do the same – make their own kit that is, not run marathons (though I’m sure she will have a tip or two for that as well).
I have been invited to take part in the blog tour to review the book, for which I also chose to make a project – a winter base layer top – so here goes for both.
Sew Your Own Activewear book review
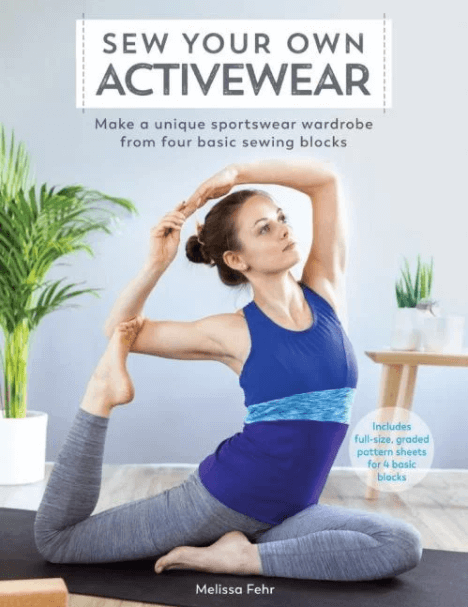
The book is a bit different from what I see regularly in sewing books. The main concept is that instead of ready-made patterns to copy out, you get four blocks (close fitting top & bottoms, and loose fitting top & bottoms) that you can customise as you like. The book offers you a range of ideas (15 patterns), but the possibilities for customisation are really endless.
Melissa also offers loads of tips & tricks on how to sew activewear on a regular sewing machine, or using an overlocker (serger) or cover stitch machine. Being a seasoned exerciser, Melissa also provides plenty of advice on how to test run your new creation, as the proof is in the pudding, or well, 5k run, as it were.
The instructions have detailed illustrations and Melissa holds your hand every step of the way, both for the drafting customisations and the sewing and finishing part.
The book provided measurements in both metric and imperial and Melissa, being from the US, put the American terminology in brackets (e.g. serger/overlocker).
One thing I would have liked more of is notches, especially the double notches for sleeves. I got a bit confused when I put the sleeves together, as there is only one notch, instead of the usual 2 for the back and 1 for the front.
All in all, this book is pretty much all you need to push through the defeatist attitude and just go for it!
Have a look inside the book . You can buy your copy on Amazon here.
The
Disclaimer: I pre-ordered and paid for the book on my own during GBSB Live last year, and then was sent a free PDF copy for review purposes. Melissa is a personal friend.
Pattern
For my project form the book, I chose the winter base layer project. The main reason for choosing this was because I’m trying really hard to sew my stash this year, instead of buying new fabric, and I really did not have anything in my stash that remotely resembled activewear fabric. Lycra, what are this words I hear you say? I initially wanted to make the hoodie (check out Melissa’s awesome version), as I had fallen in love with the sample at the GBSB Live last year. And I actually traced and made all the adjustments for that pattern, AND cut my fabric. I then realised that a) I did not have enough fabric and b) it really was too flimsy for the hoodie. So back to the drawing board I went – literally.
I realised that my fabric (a bit more on that in a second) was in fact much more suited for a base layer to keep me warm while running, or hill walking, or whatever else active pursuits I will choose in the future. Plus I fancied something a bit more fitted.
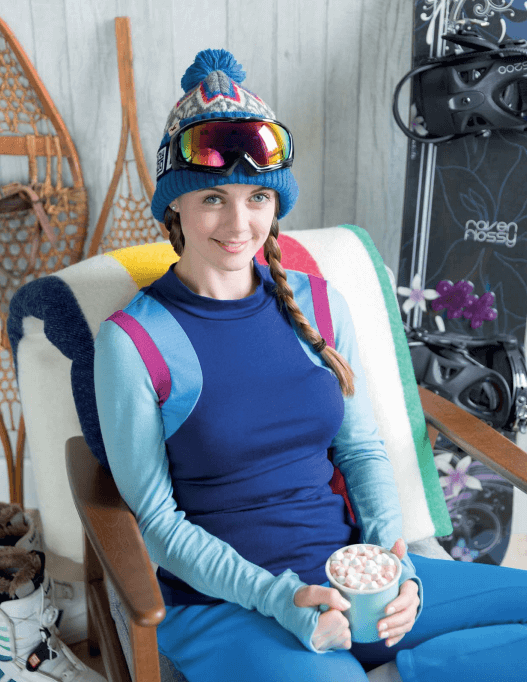
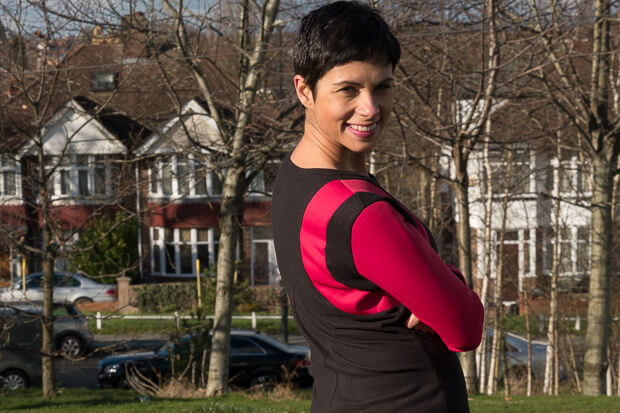
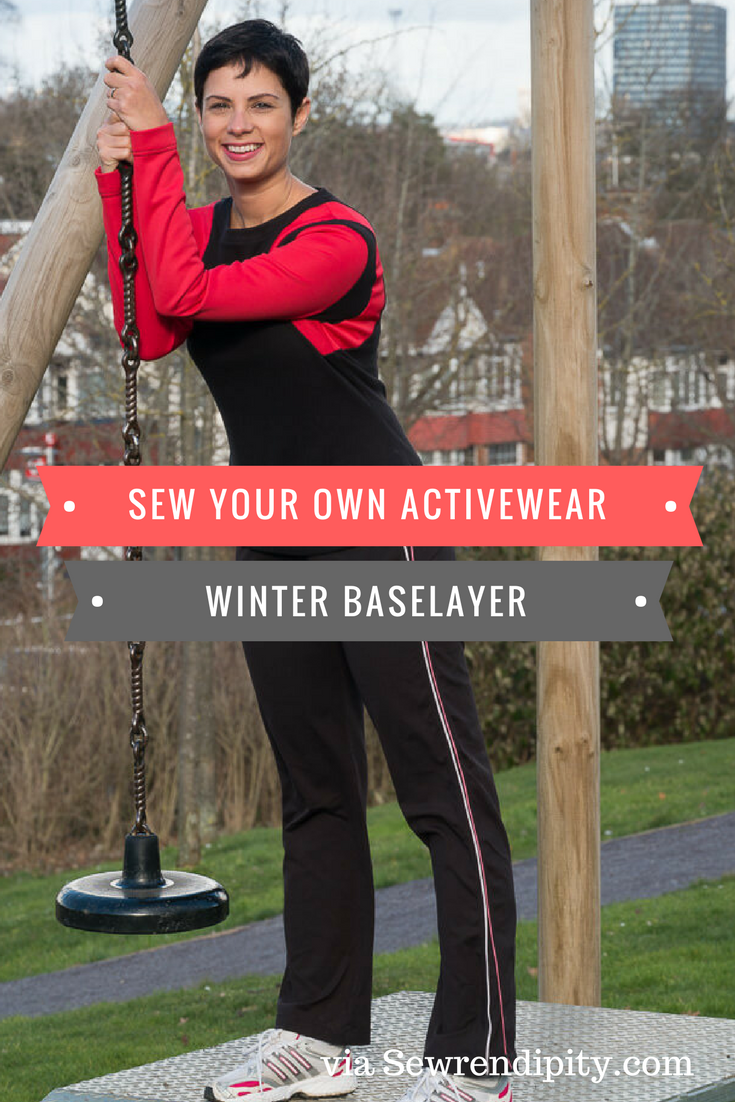
So I chose the winter base layer. I think the girl with hot chocolate and marshmallows might have had something to do with it.
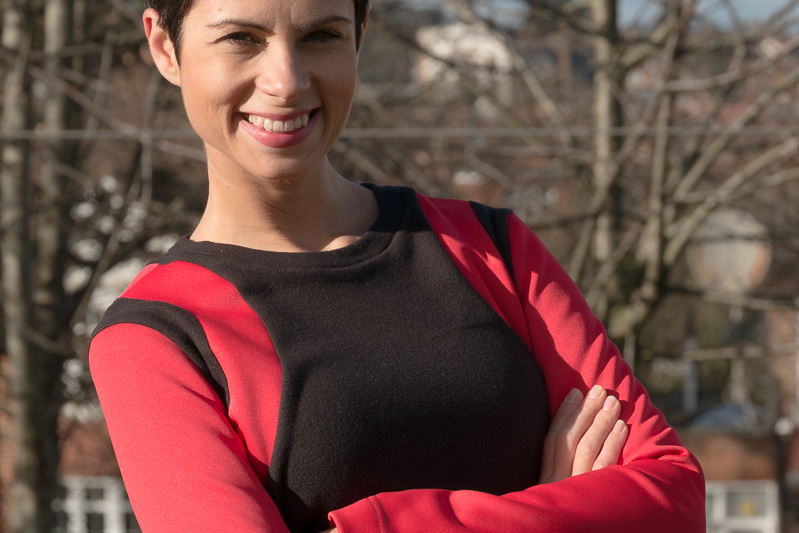
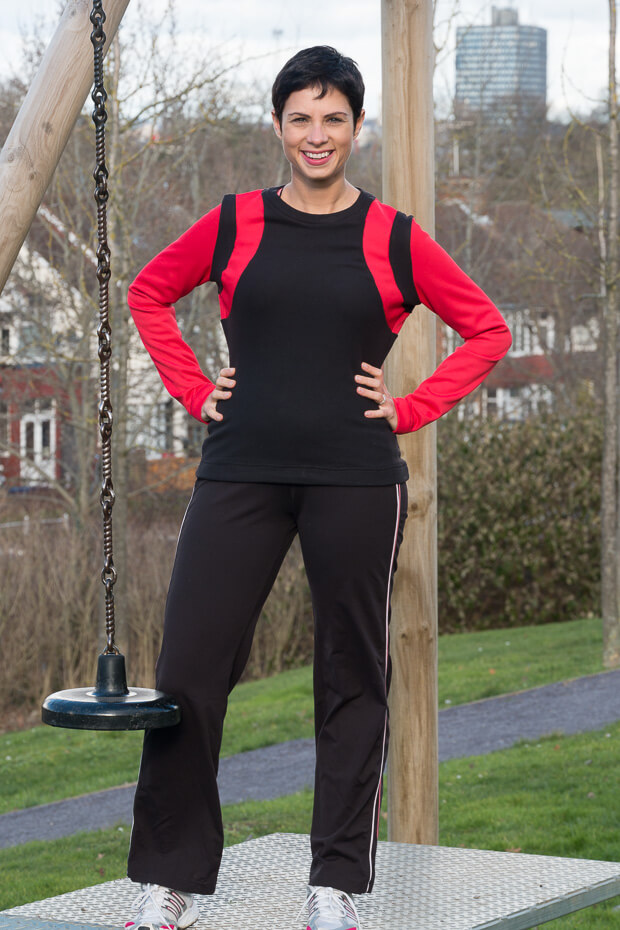
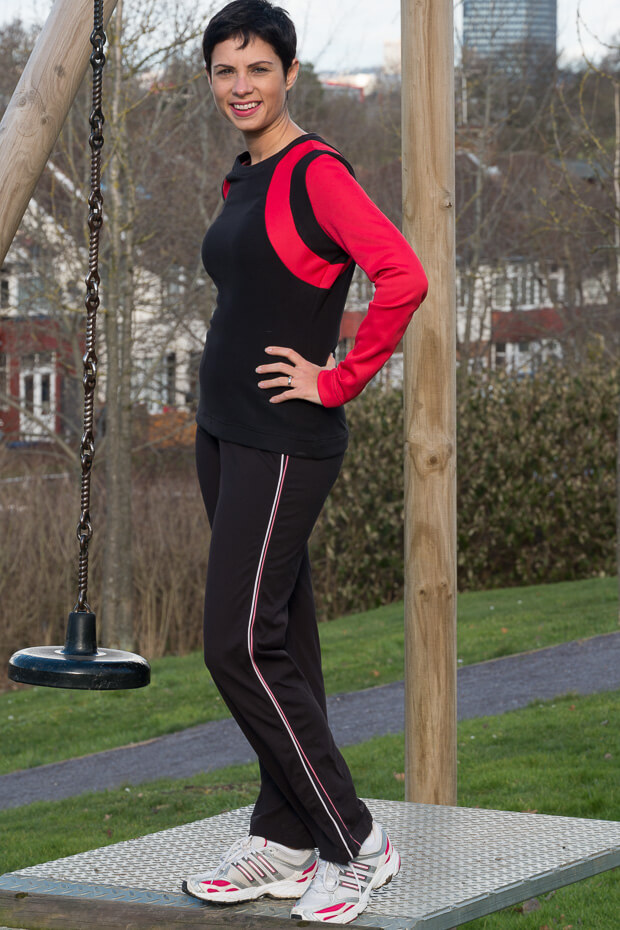
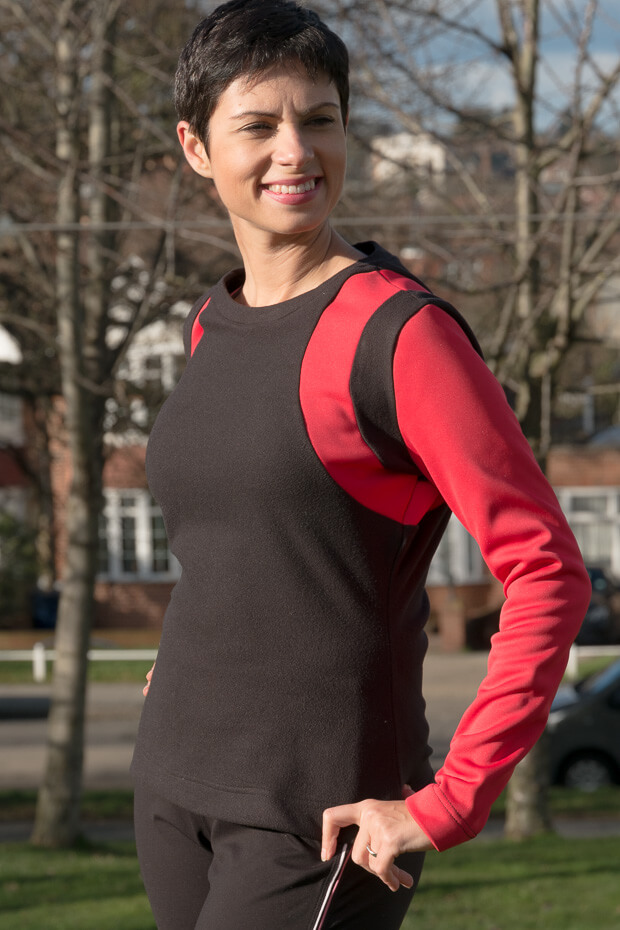
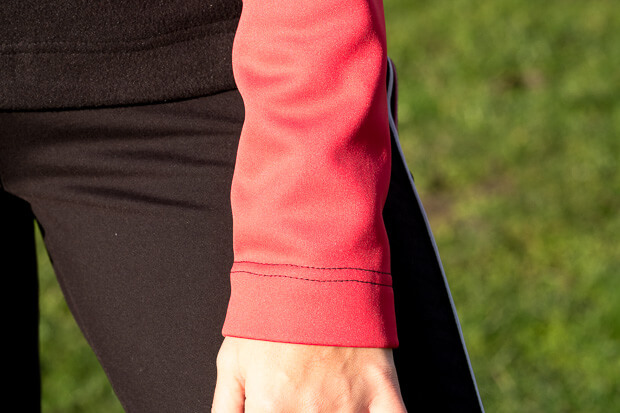
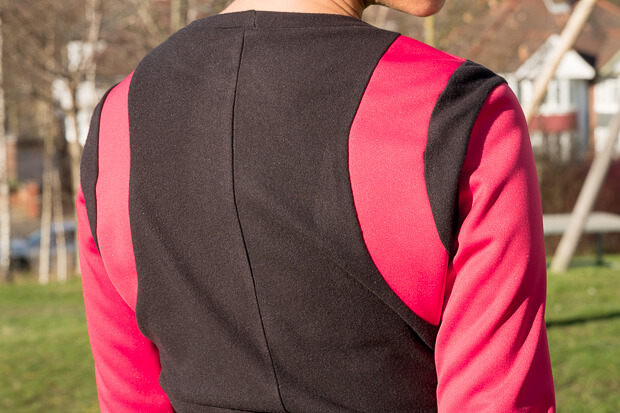
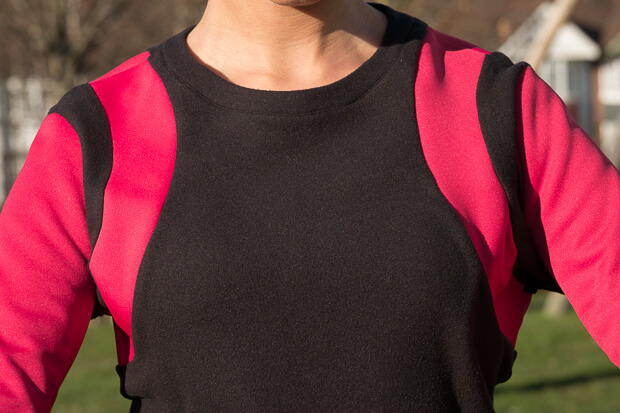
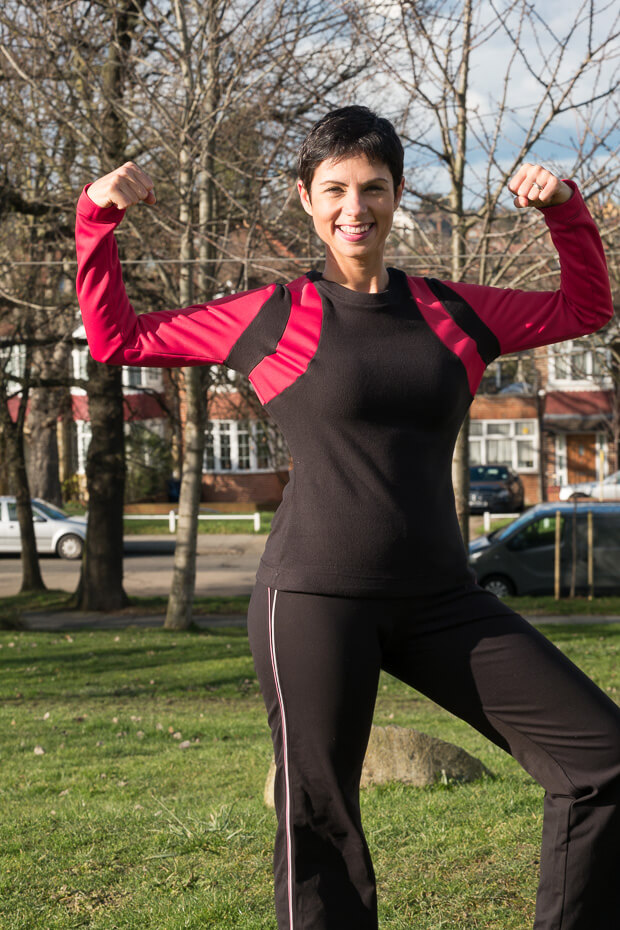
This design is based on the close fitting top and features contrast rings in the shoulder area, which are pretty neat, and thumb cuffs. I skipped the thumb cuffs as I didn’t think I’d realistically need them, but it’s a good pattern piece to keep handy for other projects.
Fabric
As I said, I really wanted to shop the stash for this one. So I used a microfleece I had bought in Abakhan when I went to see my friend Simona from Sewing Adventures in the Attic in November last year. I did not have a specific project in mind when I got it, so I was glad to find a good use for it.
However, it was still not enough (even less so now that I had hacked into it for a completely different pattern). I had to make an emergency trip to Goldhawk Rd., which luckily is fairly close to both my home and my work. Surprise, surprise, no one had a similar microfleece to mine (I actually took a sample with me), or even regular fleece, shock-horror! So I had to get creative and got this red soft shell, with scuba on the right side and fleece on the back. I love this fabric, and maybe I could use some more in the future, but for now, I was very restrained and only got 1m, as it was 1.2m wide and I wanted to be on the safe side.
Alterations & Fit
Other than what the instructions called for, I made absolutely no alterations at all and I think the fit is pretty good. I cut a size S, based on the finished measurements, and it was spot on. I would probably take the shoulders in a tiny bit and maybe remove a half a centimetre from the underarm area. But for now, nothing that bothers me too much.
I omitted the cuff piece but would add it for next time.
Tips for altering the pattern
The instructions on how to alter the pattern are pretty straightforward in the book, but I wanted to give you a few tips on how to do the circles a bit quicker. NB: the blocks do not include SA, so make sure you add your desired SA when you copy the block out, otherwise you might forget when making the alterations and cutting out.
So by this point, I copied out the front and back pieces. To make the circles, I traced again the top pieces, up to the shorthen/lengthen line. This way I would preserve my original.
I then traced a line from the edge as per instructions. Melissa recommends 3cm, but make sure you add your SA to that (0.5 cm /1/4” in my case, to a total of 3.5cm from the edge). This would be the stitch line between the first and second circle (I called them A and B). I marked this in red. Then I measured 1.4” (my chosen SA) both above and below this line. The below line will be the cutting line of the first circle (piece A). I traced the contour of this piece in a different colour, say black. Then I copied it out. This will be my 1A (or 4B for the back) piece. Don’t forget to mark a notch between the two pieces (1 for the front and 2 for the back when you get to it). This will come in handy when assembling.
I then traced another line 5 cm from the first stitch line, which I had marked in red. This will be the stitch line between pieces B and C (second circle and the rest of the top). I then also traced 1/4” SA above and below this line. I marked out the piece between the below line of stitch line 2 (between B and C) and the line above the first of stitch line (between A and B) in say green. Then I traced this piece too.
Lastly, I cut out piece C on the line above the stitch line between B and C. You don’t need to copy this one out, you already had it traced, just remove what you don’t need. Don’t forget to add the grainline to each piece.
Repeat exactly the same for the back, making sure to measure the exact same distances. It will be a good idea to true up the front and back circles to make sure they will align perfectly when assembled. You can also check that it all works by overlaying pieces A, B and C on the stitch line and putting them on top of the main pattern piece for front and back.
P.S. Sorry if the switch between in and cm is a bit confusing. I use an imperial ruler to add seam allowances as it’s easier to see the lines (and I just love that particular one) but usually think in centimetres. So I’m operating in a mixed economy most of the time.
Construction
The construction is really straightforward. I overlocked all seams and finished the hems with the coverstitch machine. Make sure you baste the layers, especially when joining all the circles and especially if they are in contrast fabric. I did not do it and it’s slipped in a few places.
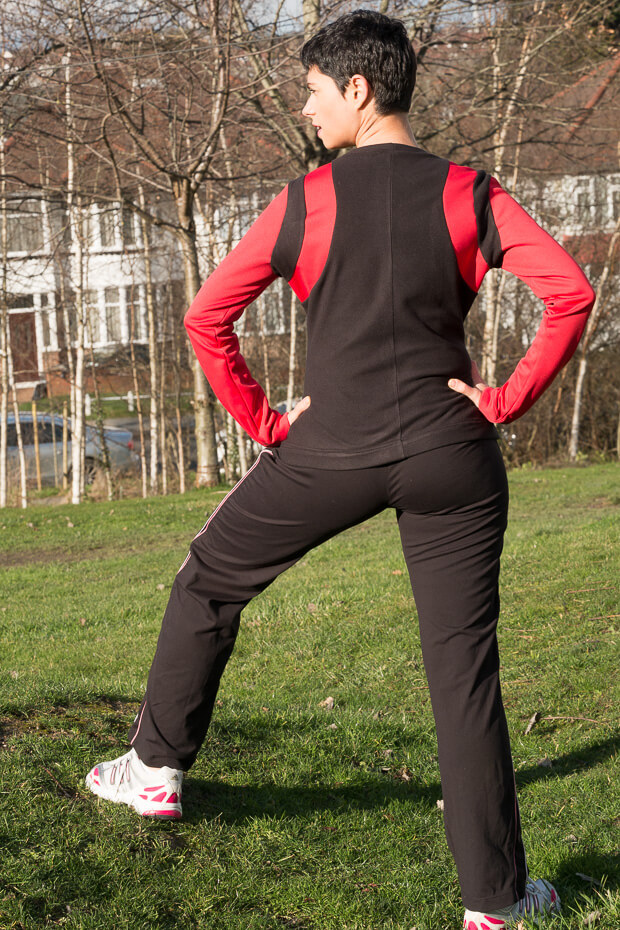
I had to do a bit of Tetris cutting because I was reusing the pattern pieces I had already cut out for the hoodie. So I ended up with a centre back seam, which is not as per pattern pieces. I also had to add 4 cm extra on the bottom of the back pieces, but it’s not visible as it got folded in the hem.
I was particularly chuffed with how well the neckband came together, the pattern piece was just the right length and it went in very easily.
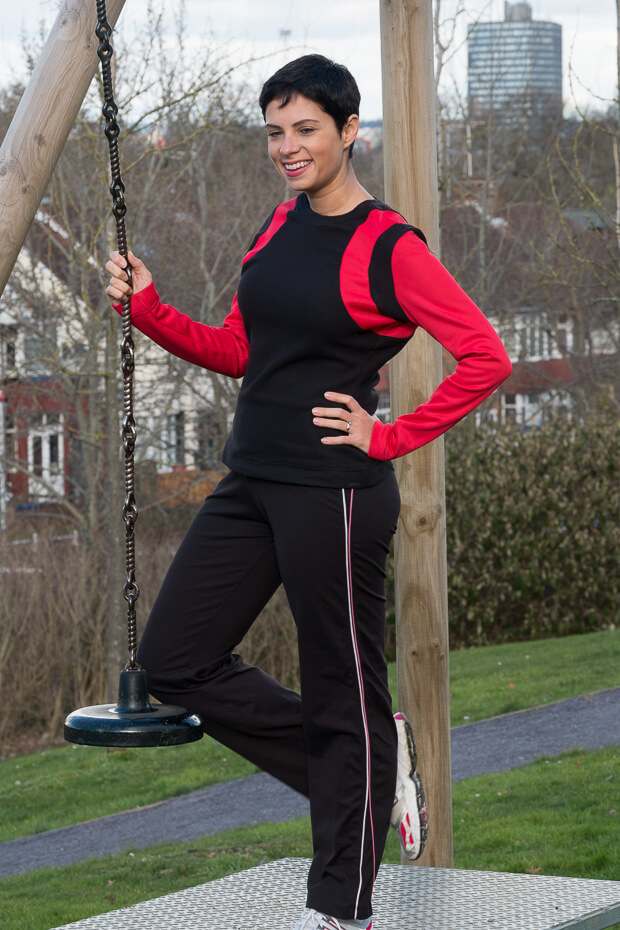
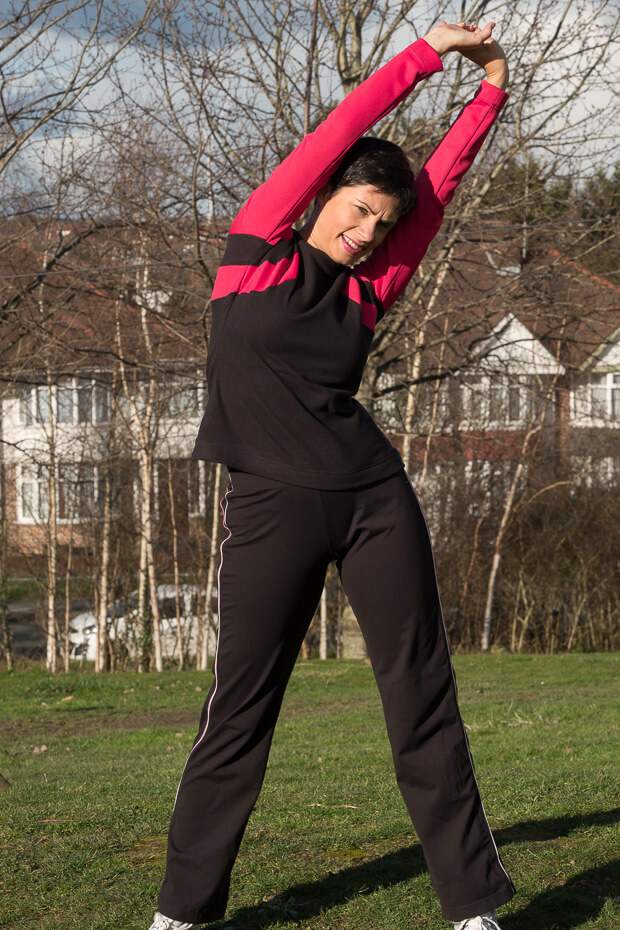
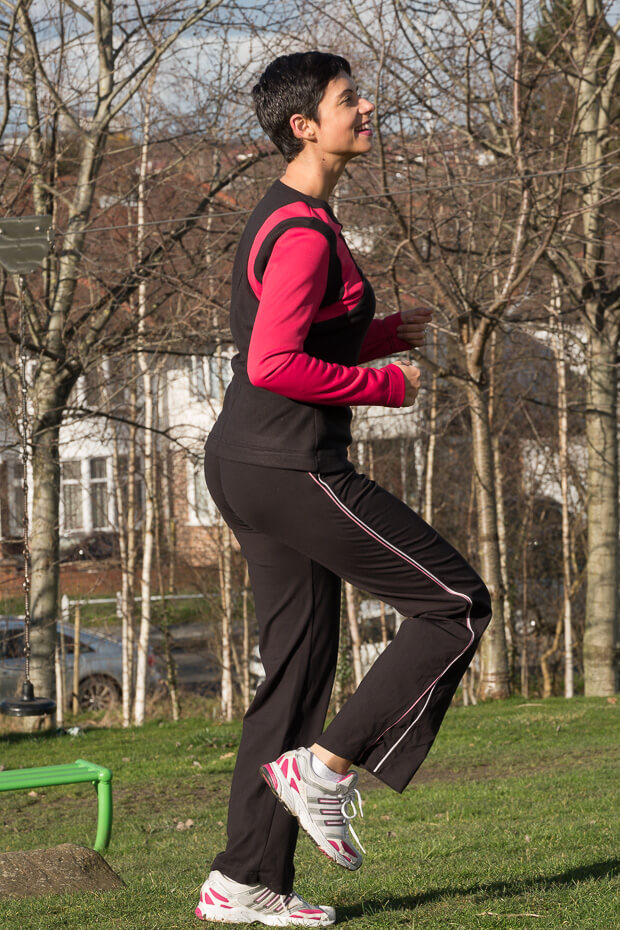
Style & wear
As you can see, I wore my base layer out as soon as I finished it, to take advantage of a beautiful day and take the pictures outside. It was bracing in spite of the sunshine, so I absolutely road tasted it the hard way. It did really well keeping me warm and I’m sure it would do an even better job with more layers on to keep the wind at bay. Here’s a few pics of it in action.


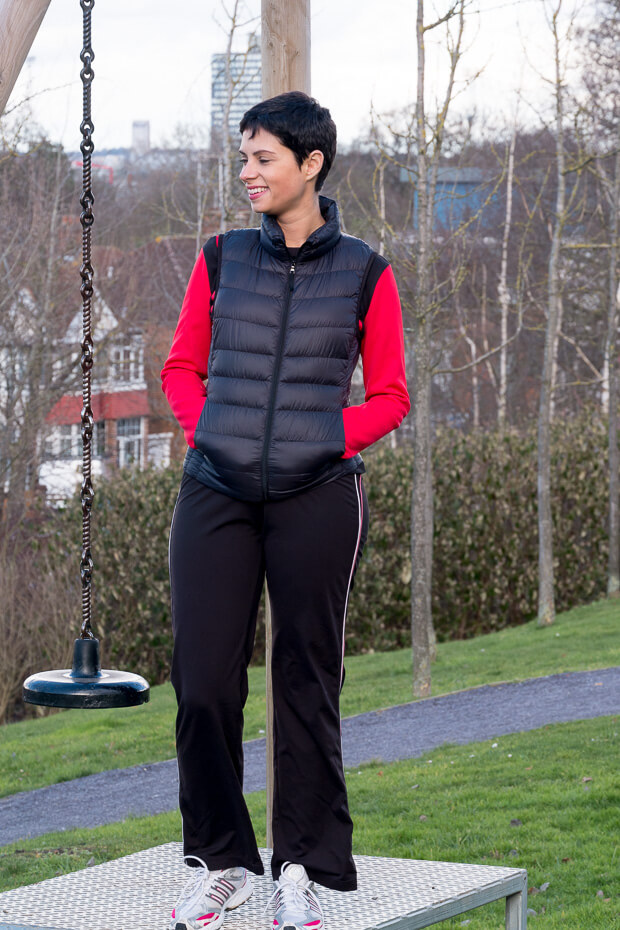
And a pic with my down body warmer. Proper toasty!
Verdict
This was definitely not as hard as I thought! Once the pattern alterations were done, it was a really straightforward and enjoyable make. I am super happy with how it came out, in spite of some misalignment and fit tweaks required, and it will definitely come in handy for a trip to the Scotish Highlands we’re planning for Easter!
Winner!
Details recap:
Pattern: Sew Own Activewear book, by Melissa Fehr – Winter Base Layer, size S
Fabric: microfleece from Abakhan, softshell from Goldhawk Rd.
Alterations: none
Next time: Reduce CB by 1/4”, reduce side seam underarm by 1/4”
HAVE YOU MADE ANY ACTIVEWEAR? WOULD YOU LIKE TO? TELL ME IN THE COMMENTS OR TWEET OR IG ME @SEWRENDIPITY!
————- DON’T MISS A SINGLE POST —————

———— FOLLOW ME ON SOCIAL MEDIA ————-
TWITTER|INSTAGRAM|FACEBOOK|PINTEREST|BLOGLOVIN’
PIN THIS FOR LATER

Super!
Author
Thank you!
Waw! You made active wear? What have you done with Alex?
The out fit looks pretty good. Now that I read your review, I am tempted so much by this book as well.
What’s your secret to get into running. I keep thinking it might be healthy to try it but don’t seem to get motivated enough to tempt the nasty weather.
Author
Ha ha, my sister did some voodoo on me, that’s how! But it’s working. Try the couch to 5k podcast. It’ free. Just download the first episode and listen to it, it’s doable.
Re sewing activewear, I found out today about this other book (from the Love to Sew podcast), https://www.thelaststitch.com/2017/12/my-book-sewing-activewear-is-out/. It sounds really good too.