
My sewing mojo has been up and down since the beginning of the year and even weirder in the past 8 weeks in lockdown. But making trainers is not really a sewing project, so it doesn’t count.
I super love them, and wear them for my weekly outing, so I just had to share, in case you are feeling like trying your hand at something different.

I have mentioned my love, bordering on obsession, with Sneaker Kit, a Dutch small business that sells trainer kits and various patterns to use with the soles.

I even started teaching classes in London on how to make these trainers. Unfortunately, all the dates this spring have been cancelled, but if you are interested, drop me an email and I can let you know when they might resume.
Anyway, at the end of February, before starting my new job, I went to the Netherlands to see my sewing bestie, Kate from Time to Sew and I took the opportunity to also take a trip to Arnhem, in the East of the Netherlands to also catch up with Roderick. He is the creator of Sneaker Kit and a throughly awesome guy. We had the most amazing day chatting and making sneakers. He even hand cut this pattern especially for me.
I have already made a pair using the old sole and design which I have worn almost to death last year. They really are so tattered that I can’t bring myself to even share them anymore. But last year, Roderick crowdfunded a new design and sole, that will make diy-ing your own trainers even easier and quicker.
So I had to share this new sole and design and encourage you to support a small business if you can in these crazy times (no affiliate, btw, I just love them) by ordering and trying your hand at making a pair.
DIY LEATHER TRAINERS – Sneaker Kit new sole vs old sole
Roderick worked really hard to take in all the feedback from the initial version and make things even easier for the makers.
Here they both are for comparison.


In the previous version, you needed to have a back piece to hold the sides together and it also had a reinforcement on the sides.
The new sole added a moulded back piece so that the strap is not required. It also replaced the reinforcement with a second row of stitches.
And the best bit? The holes are already marked, so no more room for errors. So much much quicker to stitch.

Speaking of errors, it often happened that students mix the left and right pieces and end up with a right uppers onto the left sole and vice-versa. With the new sole, the left and right uppers are joined, so there is no more risk.
The new sole comes with the 3 heights like the old one, but it also has 2 new cut-out patterns for summer.
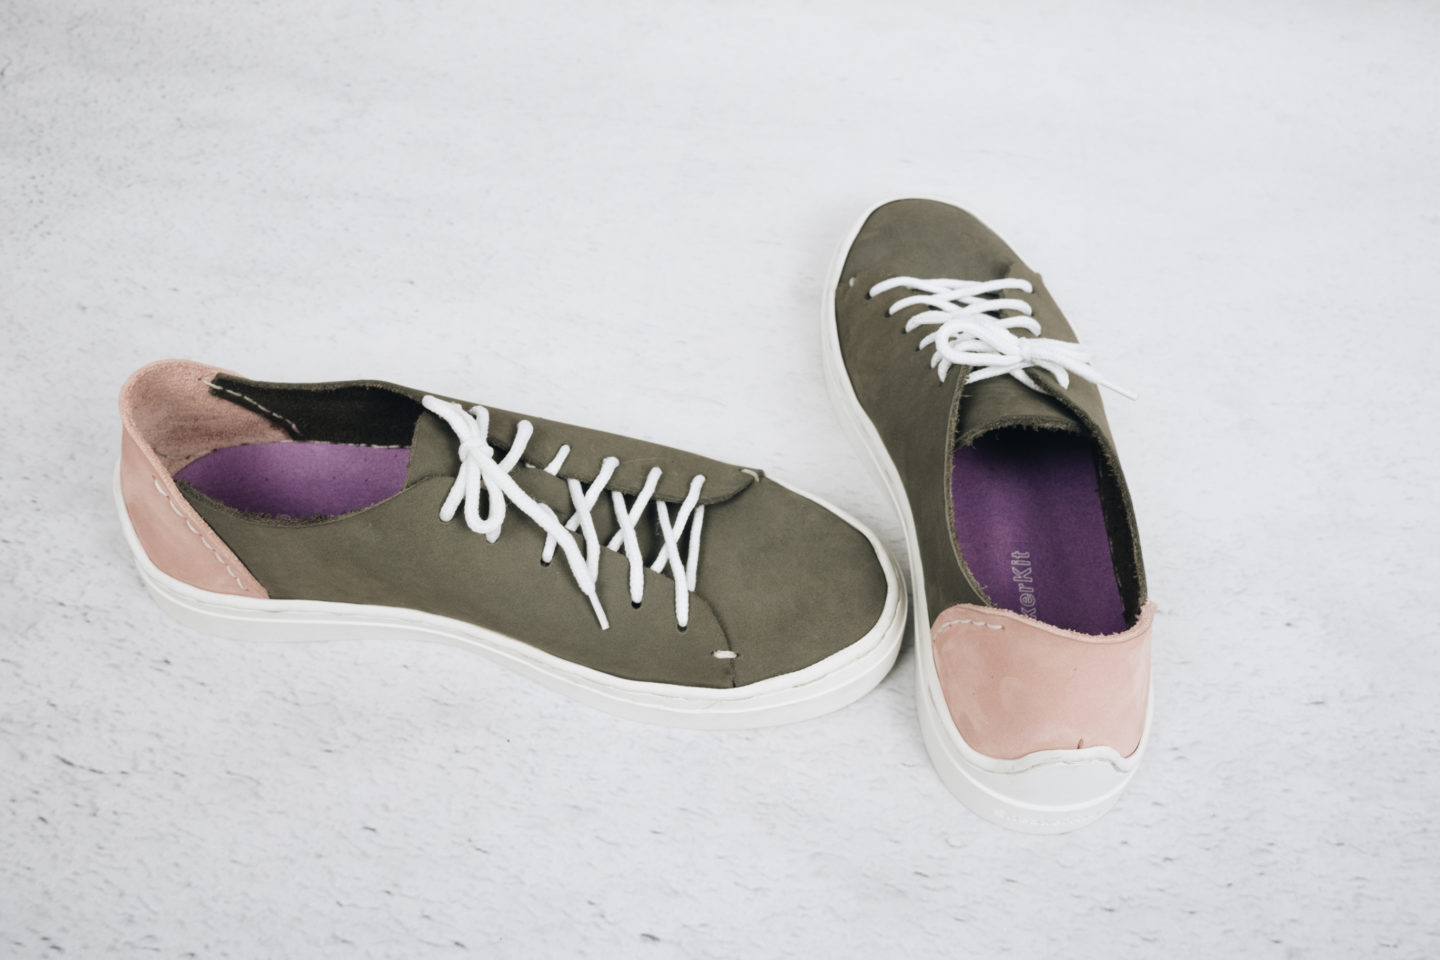
My DIY Leather Trainers
This pair I started with Roderick in his studio and finished at home. It actually ended up as a present for my sister as she really liked them. I made a similar pair for myself, but I ended up wearing (and getting them dirty) before I took the pictures. I snapped a few quick shots now so you can get the idea.
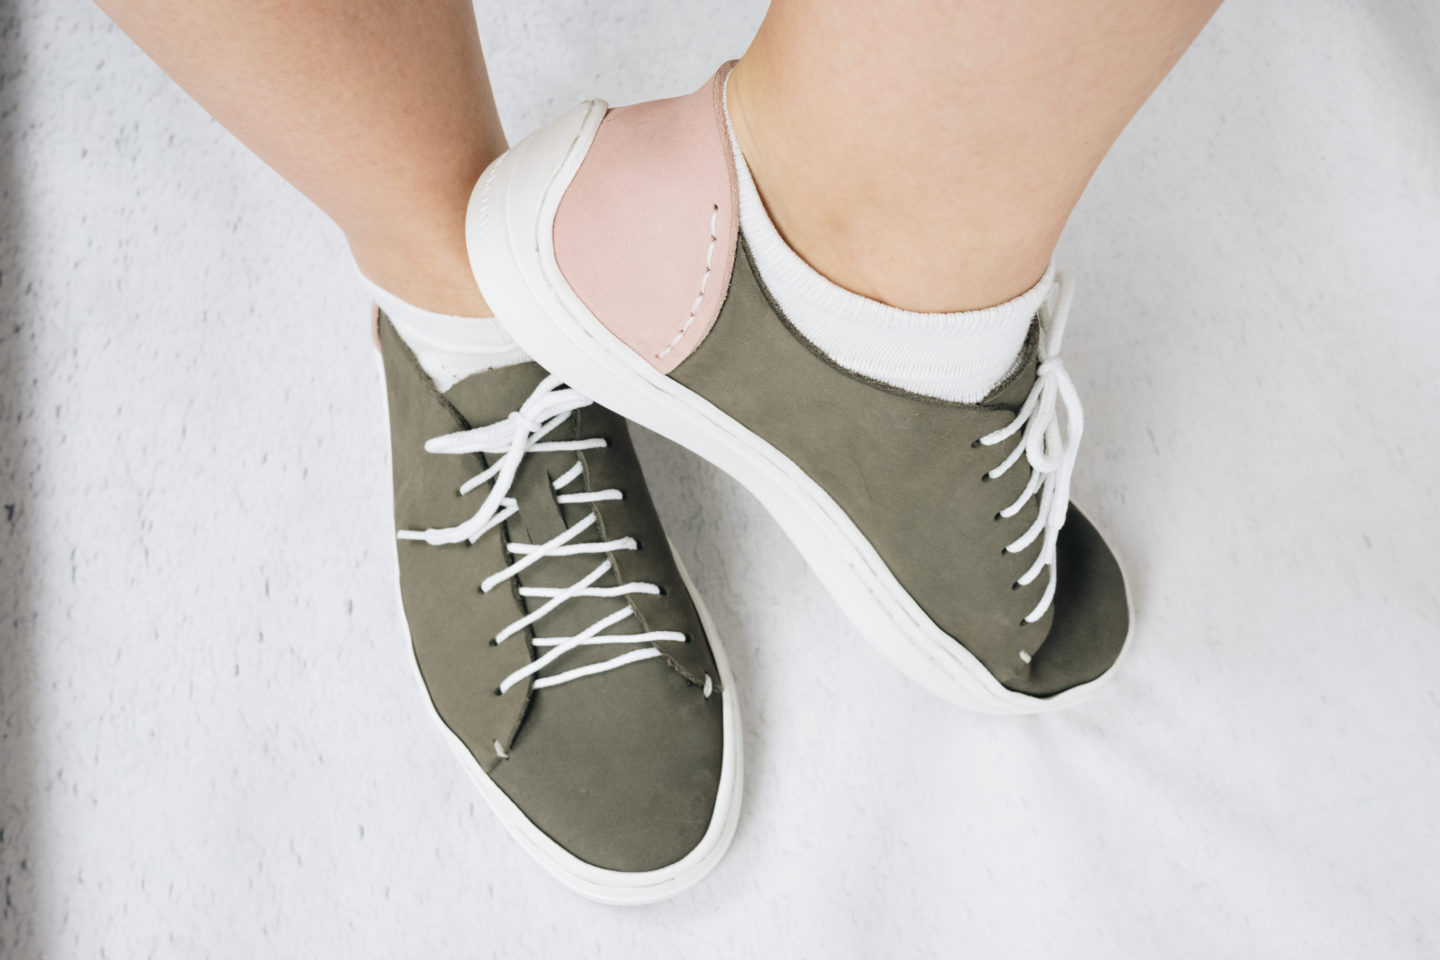
They are really comfortable, and as I mentioned before, I have worn my previous pair loads. These ones I wear when going out on our weekly longer walks. I run everyday in running shoes, but try to dress up a bit nicer when I just go for a casual stroll with my husband.


This is a pattern that Roderick was experimenting with when I was at the studio. I liked it so much that he hand-cut a version in my size. He also let me choose from his leather scraps, so I can get this two-tone look.
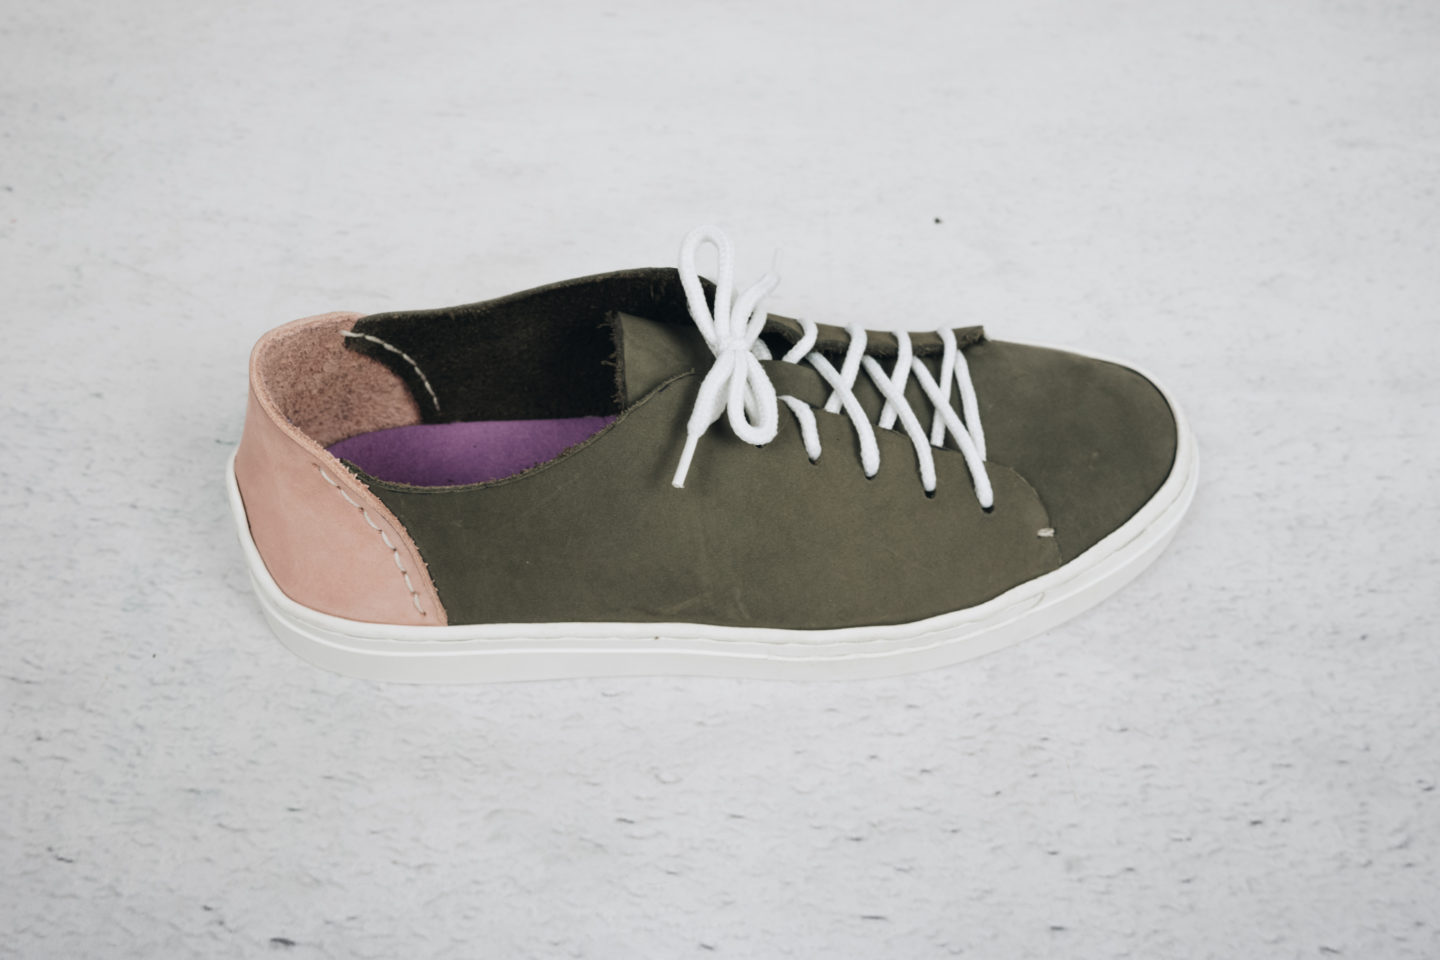
I went for a dark grey nubuck, with pink highlights. No secret that I have a bit of a grey obsession going on, but the combo with pink is also on top of my list.
The standard pattern does not have a separate heel cup piece, but you can add an easy customisation. There is a strap piece that can be added to add a bit of colour.

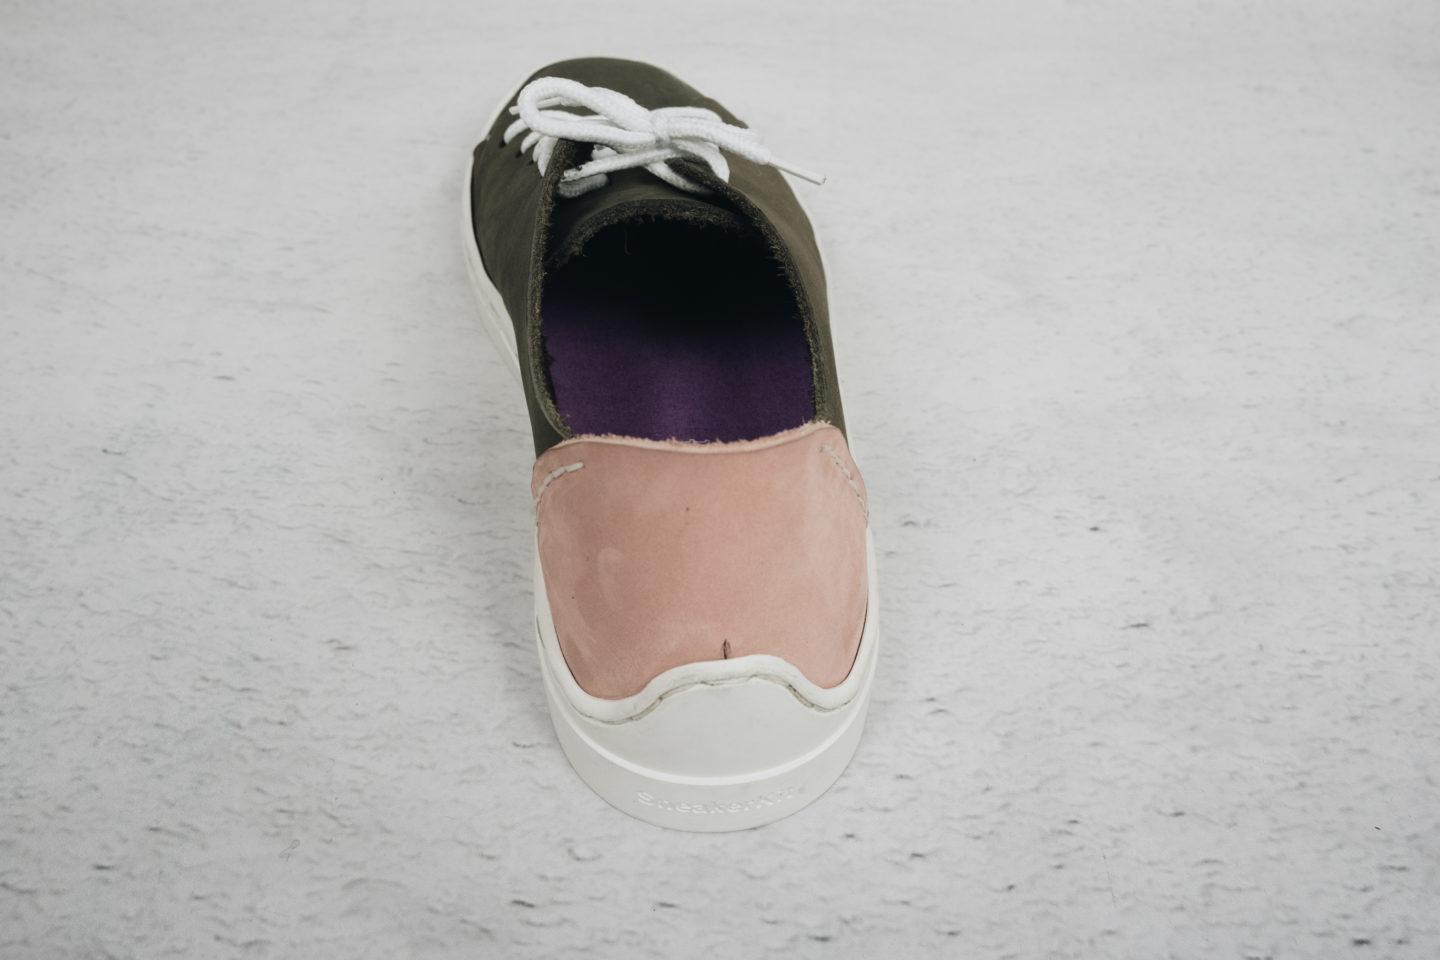
You can also add eyelets to the lace holes, but I never do. I just don’t like the metal, I prefer a more organic look. I also like funky shoelaces, like satin or organza.

My top tips for making DIY Trainers with Sneaker Kit
1. Get the Sneaker Kit hole puncher
I make my first pair with a random hole puncher I had at home and it did not work very well. When I got the Sneaker Kit pliers, it made a world of a difference. I know it’s a bit pricey, but if you could maybe share with a friend or even sell it afterwards on eBay. It’s specifically designed for 1.5mm holes. The standard ones come with 2mm holes and they are too big, they show after assembly.
2. Get the right leather
It makes a big difference, as you need it to be not too stiff and not too soft. You need to make sure it’s not dressmaking leather as well. I love the nubuck I got from Roderick, but you can get nice options in the UK as well.
3. Not into leather? Try denim or canvas
I would not recommend using faux leather, as it does not last very well (tends to delaminate) and it will be difficult to find the right weight and stiffness. So you can try some canvas or denim, provided you use the right backing. Look for iron-on interfacing in bag supplies shop. You will, however, have to resolve the visible edges. I would recommend bias binding them.
SAVE THIS FOR LATER ON PINTEREST

I’ll leave you with some ‘action shots of how I styled these trainers with a skirt for a more casual look. And more shots of my worn more pink version for customisation ideas.


WHAT OTHER CRAFTY THINGS HAVE YOU PICKED UP IN LOCKDOWN? TELL ME IN COMMENTS.
ENJOYED THIS POST?


LOVE THEM!!! I live in sneakers; I’d love to make my own – bookmarking for future reference! x
Author
Thank you! Really recommend Sneaker Kit, it’s easier than it looks. And they still deliver even during the pandemic.