
Well, this September thing turned out to be much better than we expected here in the UK, so I get to wear my summer makes for a few more weeks. Also, this means that a breezy little dress will not look out of place on the blog right now. Hope this weather holds, as I have at least 4 more hot weather projects I haven’t posted about yet and I am very keen to share them with you before we all start wrapping up for the winter.
Anyway, about this flirty little number… Believe it or not (and if it’s not, where have you been since last year?!!), this is my 3rd iteration of the Fibre Mood Mira pattern (previous here and here). Since I finished this one, I made another one for a friend, so after 4 iterations, I think I’m (almost) ready to get this pattern out of my system. Talk about TNTs, right?
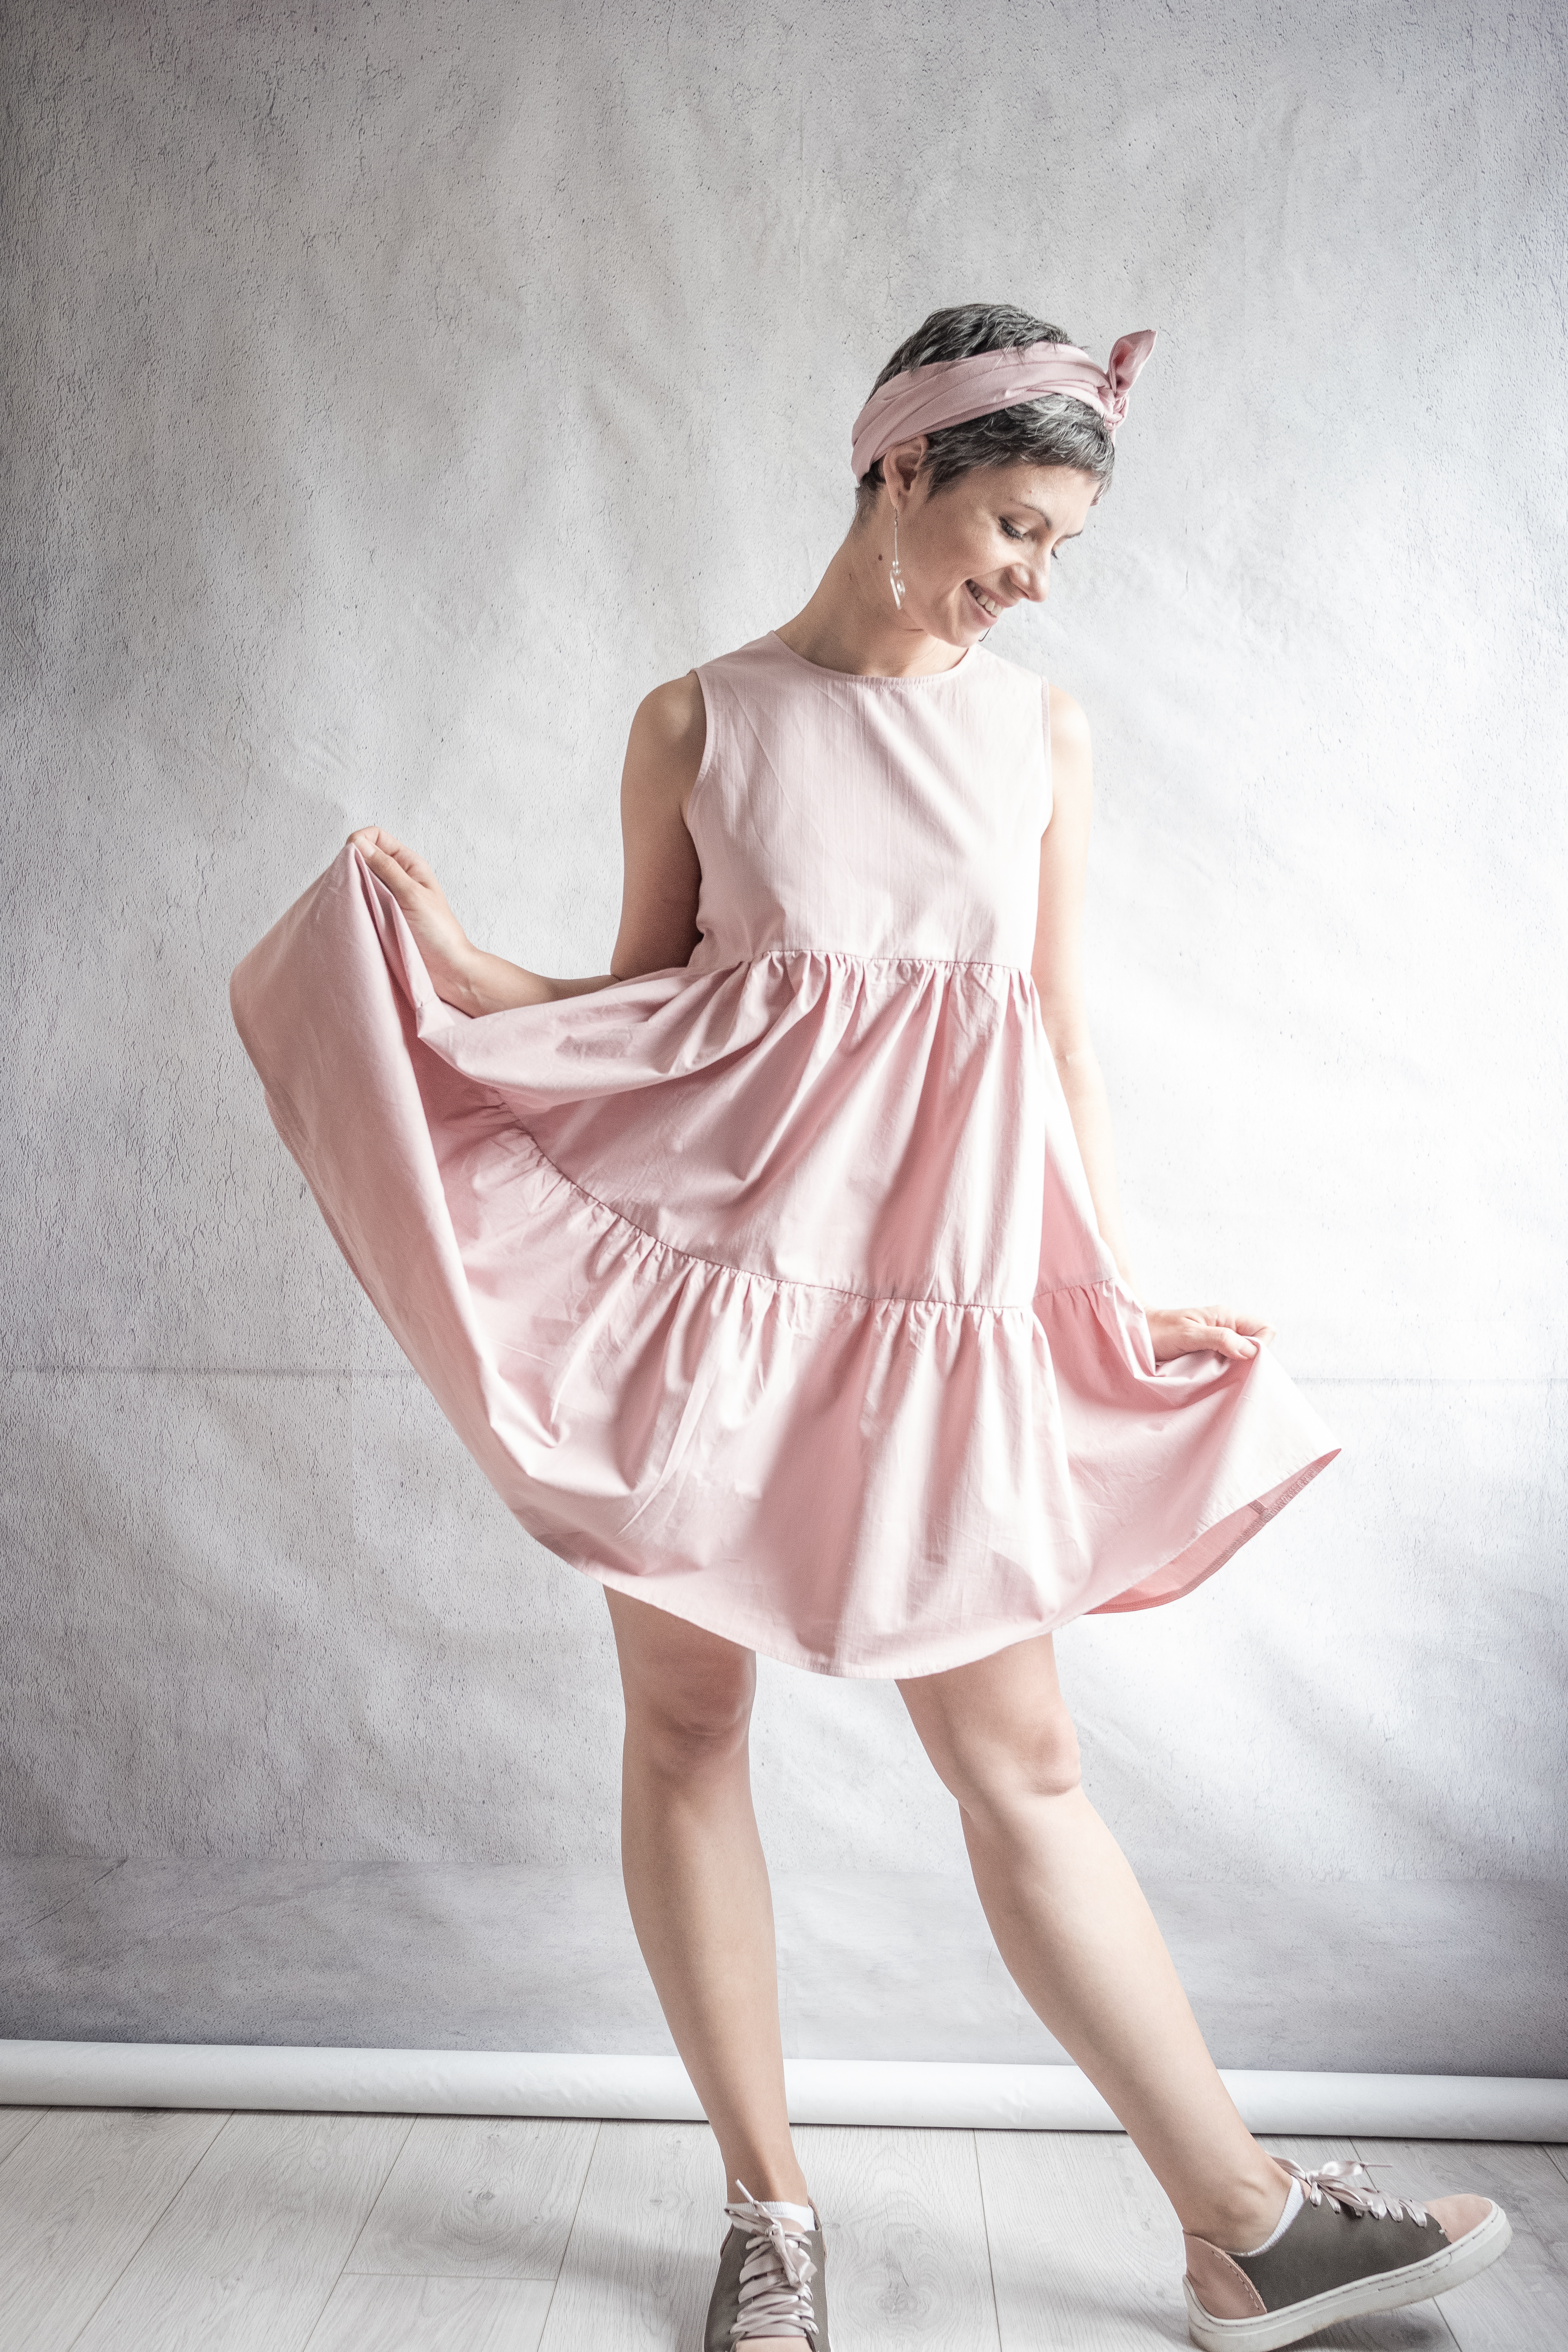
I have been fantasising about a pink tiered dress for ages, but I wanted to change the Mira so that it’s not the same old, same old sleeved version I made before. It was meant to be a summer dress, after all. So off come the sleeves, and here we are, with a pink sleeveless Fibre Mood Mira hack.
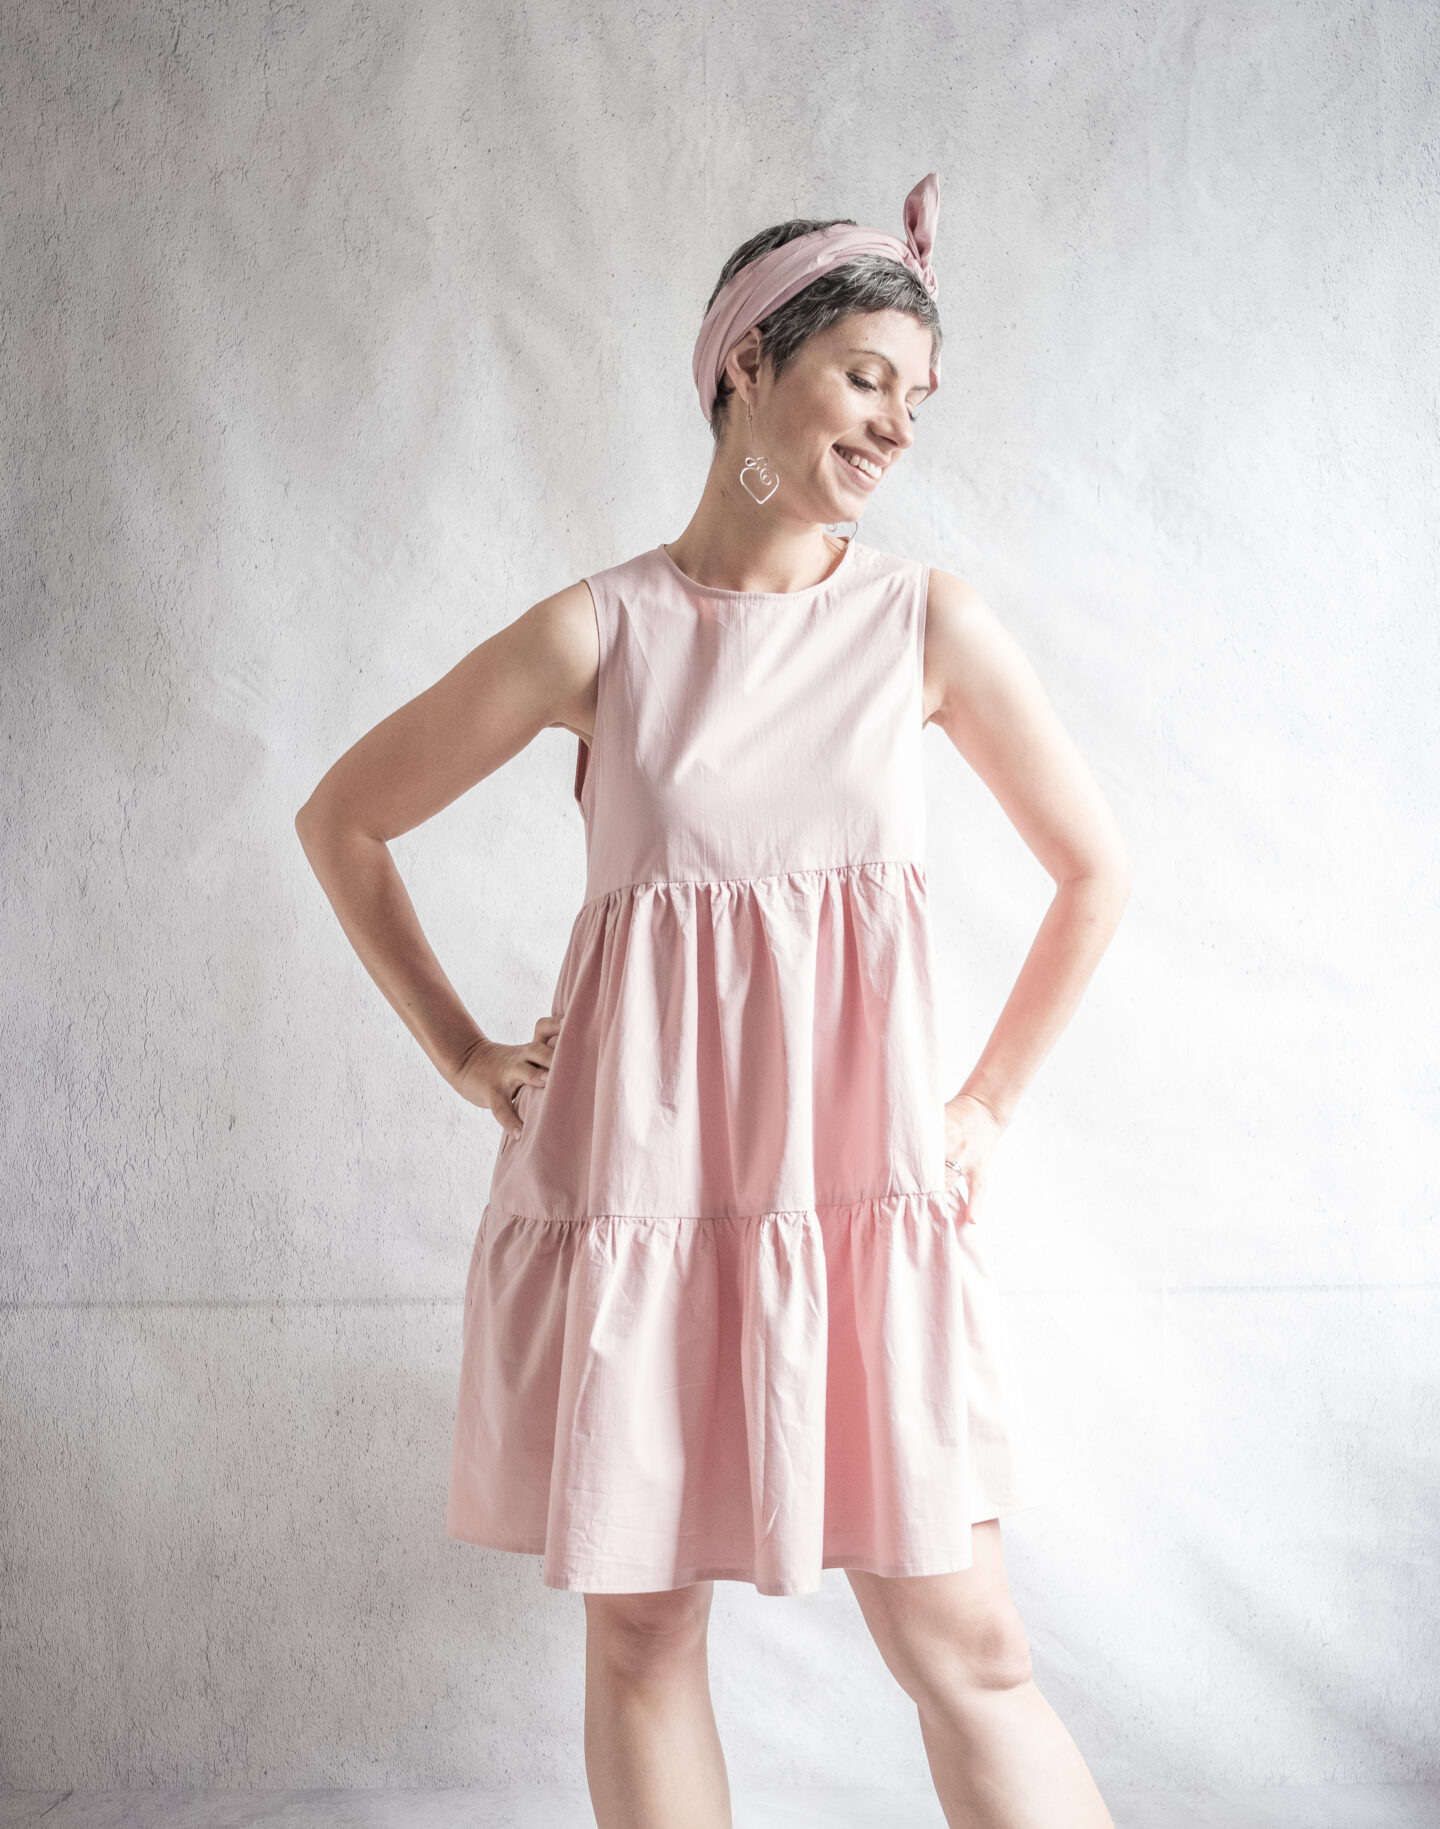

Not a lot more to tell you from the previous versions, as it’s a very straightforward pattern to begin with, and I’ve already covered all the potential points in the previous posts.
But I want to talk about the fabric and some techniques that saved me some time this time.
SLEEVELESS FIBRE MOOD MIRA | THE FABRIC
Earlier this year, I got given about 5m of extra wide wide cotton poplin. It has a really nice crisp hand and it sews beautifully. However, what would I do with so much white fabric, other than sheets (and I detest white sheets)?
You might have caught a glimpse on IG Stories of my dyeing spree a few weeks ago. Well, this was the perfect canvas for playing around with all the colours of the rainbow, or rather, of the Dylon catalogue. And I still have loads more fabric left, stay tuned for more adventures in Dylonland.
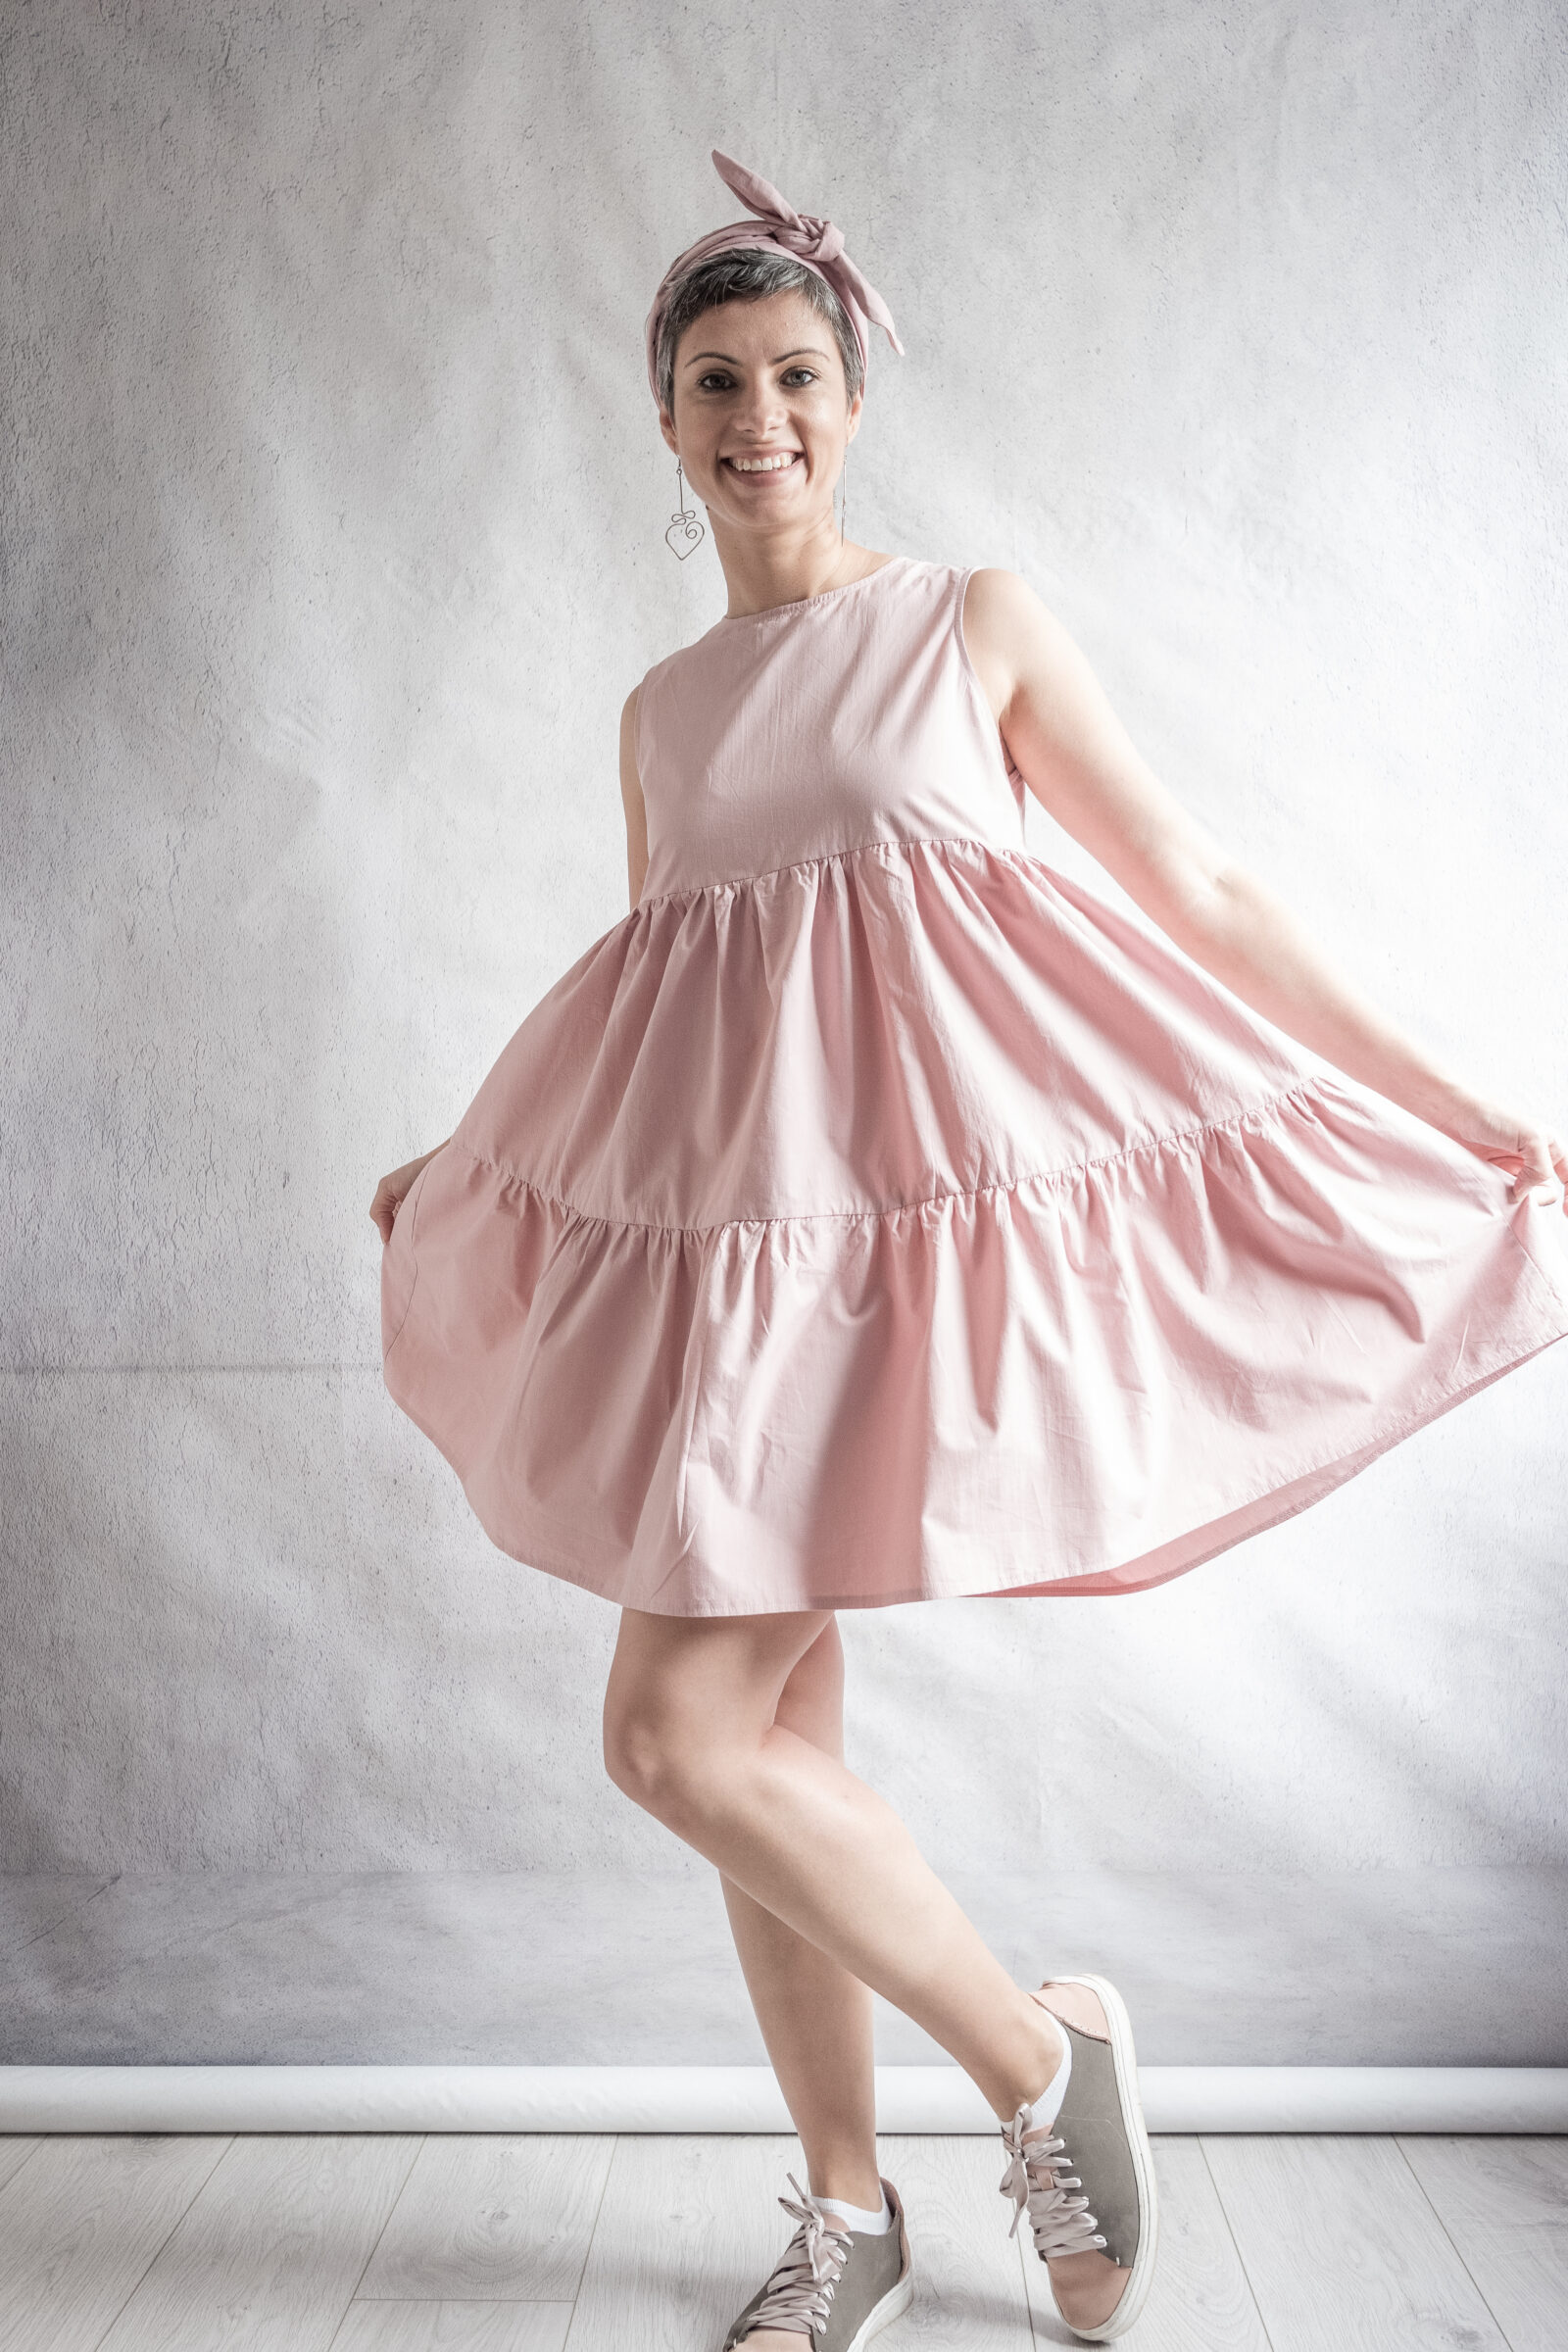
For this particular project, I wanted a pale dusky pink. The Pink Peony Dylon colour wasn’t quite right, as it’s more on the candy floss side. So I went on Pinterest and got inspired by these dye kits. The leftmost pastel colour was perfect for what I had in mind.
I used Dylon Plum Red (formerly Burlesque Red) Hand dye (50g sachet).
My top tip is to use a plastic pod from Dylon Machine dye and put the salt and hand dye in it and use in the washing machine. I tried it several times and it works a treat. Just remember that the hand dye needs additional salt, 250g for a 50g sachet. The machine dye pods have the salt included.

To get this particular colour, I used half of the 50g sachet and dyed a 1mx3m piece of cotton poplin and a linen dress (more on that soon). I specifically wanted the colour to be very pale, so that’s why I used so little dye. I am very happy with the result, even if the dry colour is a bit more towards the purple spectrum.
As someone who definitely prefers solids to prints, I love dyeing fabric. It’s a great way to refresh fabric I don’t like anymore. Or, if I have a blank canvas like this fabric, it’s awesome to be able to play with colours and get wonderfully vibrant shades.
SAVE THIS FOR LATER ON PINTEREST
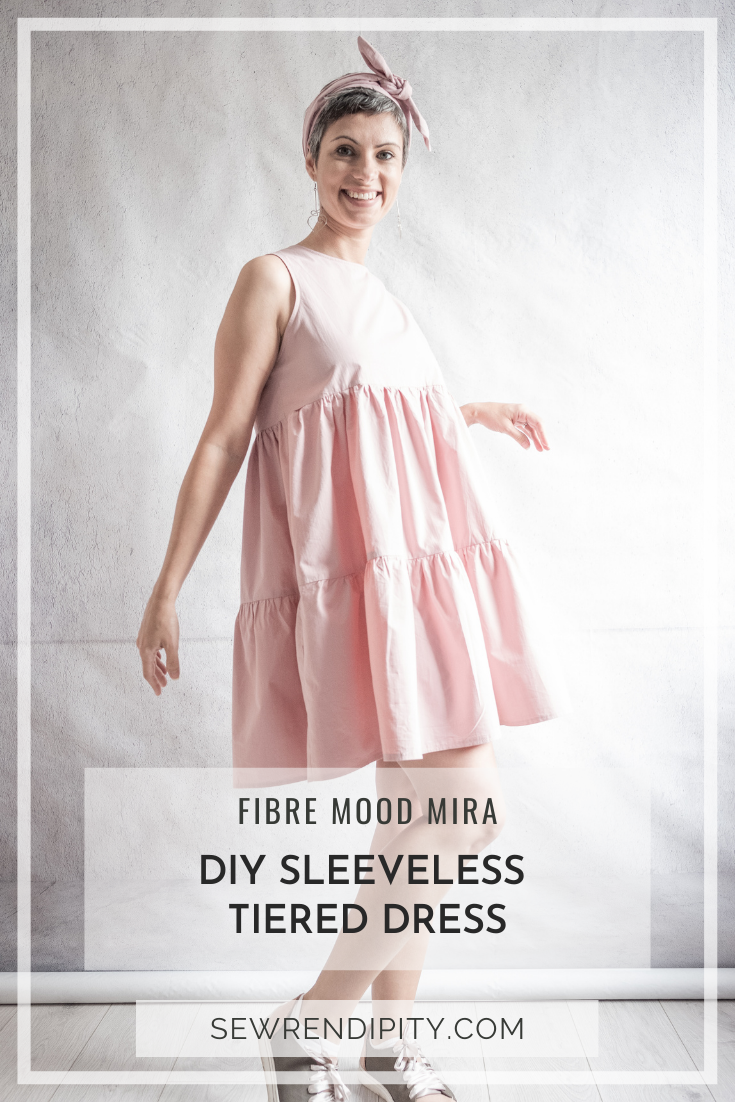
Fibre Mood Mira – Hacking it into a sleeveless dress
I knew that omitting the sleeves would not be enough to obtain the scooped shoulder effect I was after. So I took off 5cm (2”) from the shoulder seam, to make sure the outer edges fall well inside my shoulder bone. I then trued the line with a Pattern Master towards the armhole to make sure the armscye line was also more cut out than the original line.

I lifted the armhole by adding 2.5cm (1”) to avoid it being too low cut and revealing. I hate this no end and it often is the case in RTW clothes I still have. Still, it turned out it wasn’t enough, as my bra band is still showing a bit. Definitely will raise it more next time.

I also lengthened the bodice by 2.5cm (1”) and 5cm (2”) for each of the tiers.
I finished the neckline and armholes with self fabric bias binding.

Quick tip for gathering the tiers on Fibre Mood Mira
As much as I love Mira, the thought of the endless gathering times 2 tiers fills me with dread. I don’t like gathering at the best of times, but these tiers are almost 3m and 2m long respectively, so you can imagine it gets really old really fast.
I have been looking for tips on how to gather easier all I found was that bit doing two lines of gathering and coming back on yourself at the end. No way was I doing twice the work!
So I started looking for labour saving tools, rather than techniques. When I made the first Mira, I got the gathering foot for my Pfaff, but I could not get it to work for me. Then, I was convinced that I needed a ruffler. This is a mad looking contraption that makes beautifully equal ruffles (and also attaches them to your main fabric in one step). The only downside is that it’s quite pricey, about £65. I was desperate enough to give it a go, but then I came across this awesome post that compared the two and actually shows how to use the gathering foot correctly.
In a few words, the key to using the gathering foot successfully is to tweak the settings to the highest stitch length your machine can go to and also take up the needle tension as high as it goes. My Passport 3.0 machine only goes to 4.5 stitch length, which was achieving reasonable gathering, but when I tried it on the mechanical Select 4.0, my older machine, which goes all the way to 6. It gathered perfectly for the perfect amount. Almost like magic!

The other tip I learned from experience is that the gathering stitch needs to be at least 1cm away from the edge, or even more if you have a 1cm seam allowance. This will also help with the gathering, but more importantly, ensure even gathers when attaching to the other piece. My SA was 1 cm, so I gathered at 1.5cm and then took out the gathering thread once I sewed and overlocked the seams. That is why it’s good to always use a different colour thread to your fabric, it’s easier to spot and remove.
VERDICT AND STYLING FOR THE SLEEVELESS FIBRE MOOD MIRA
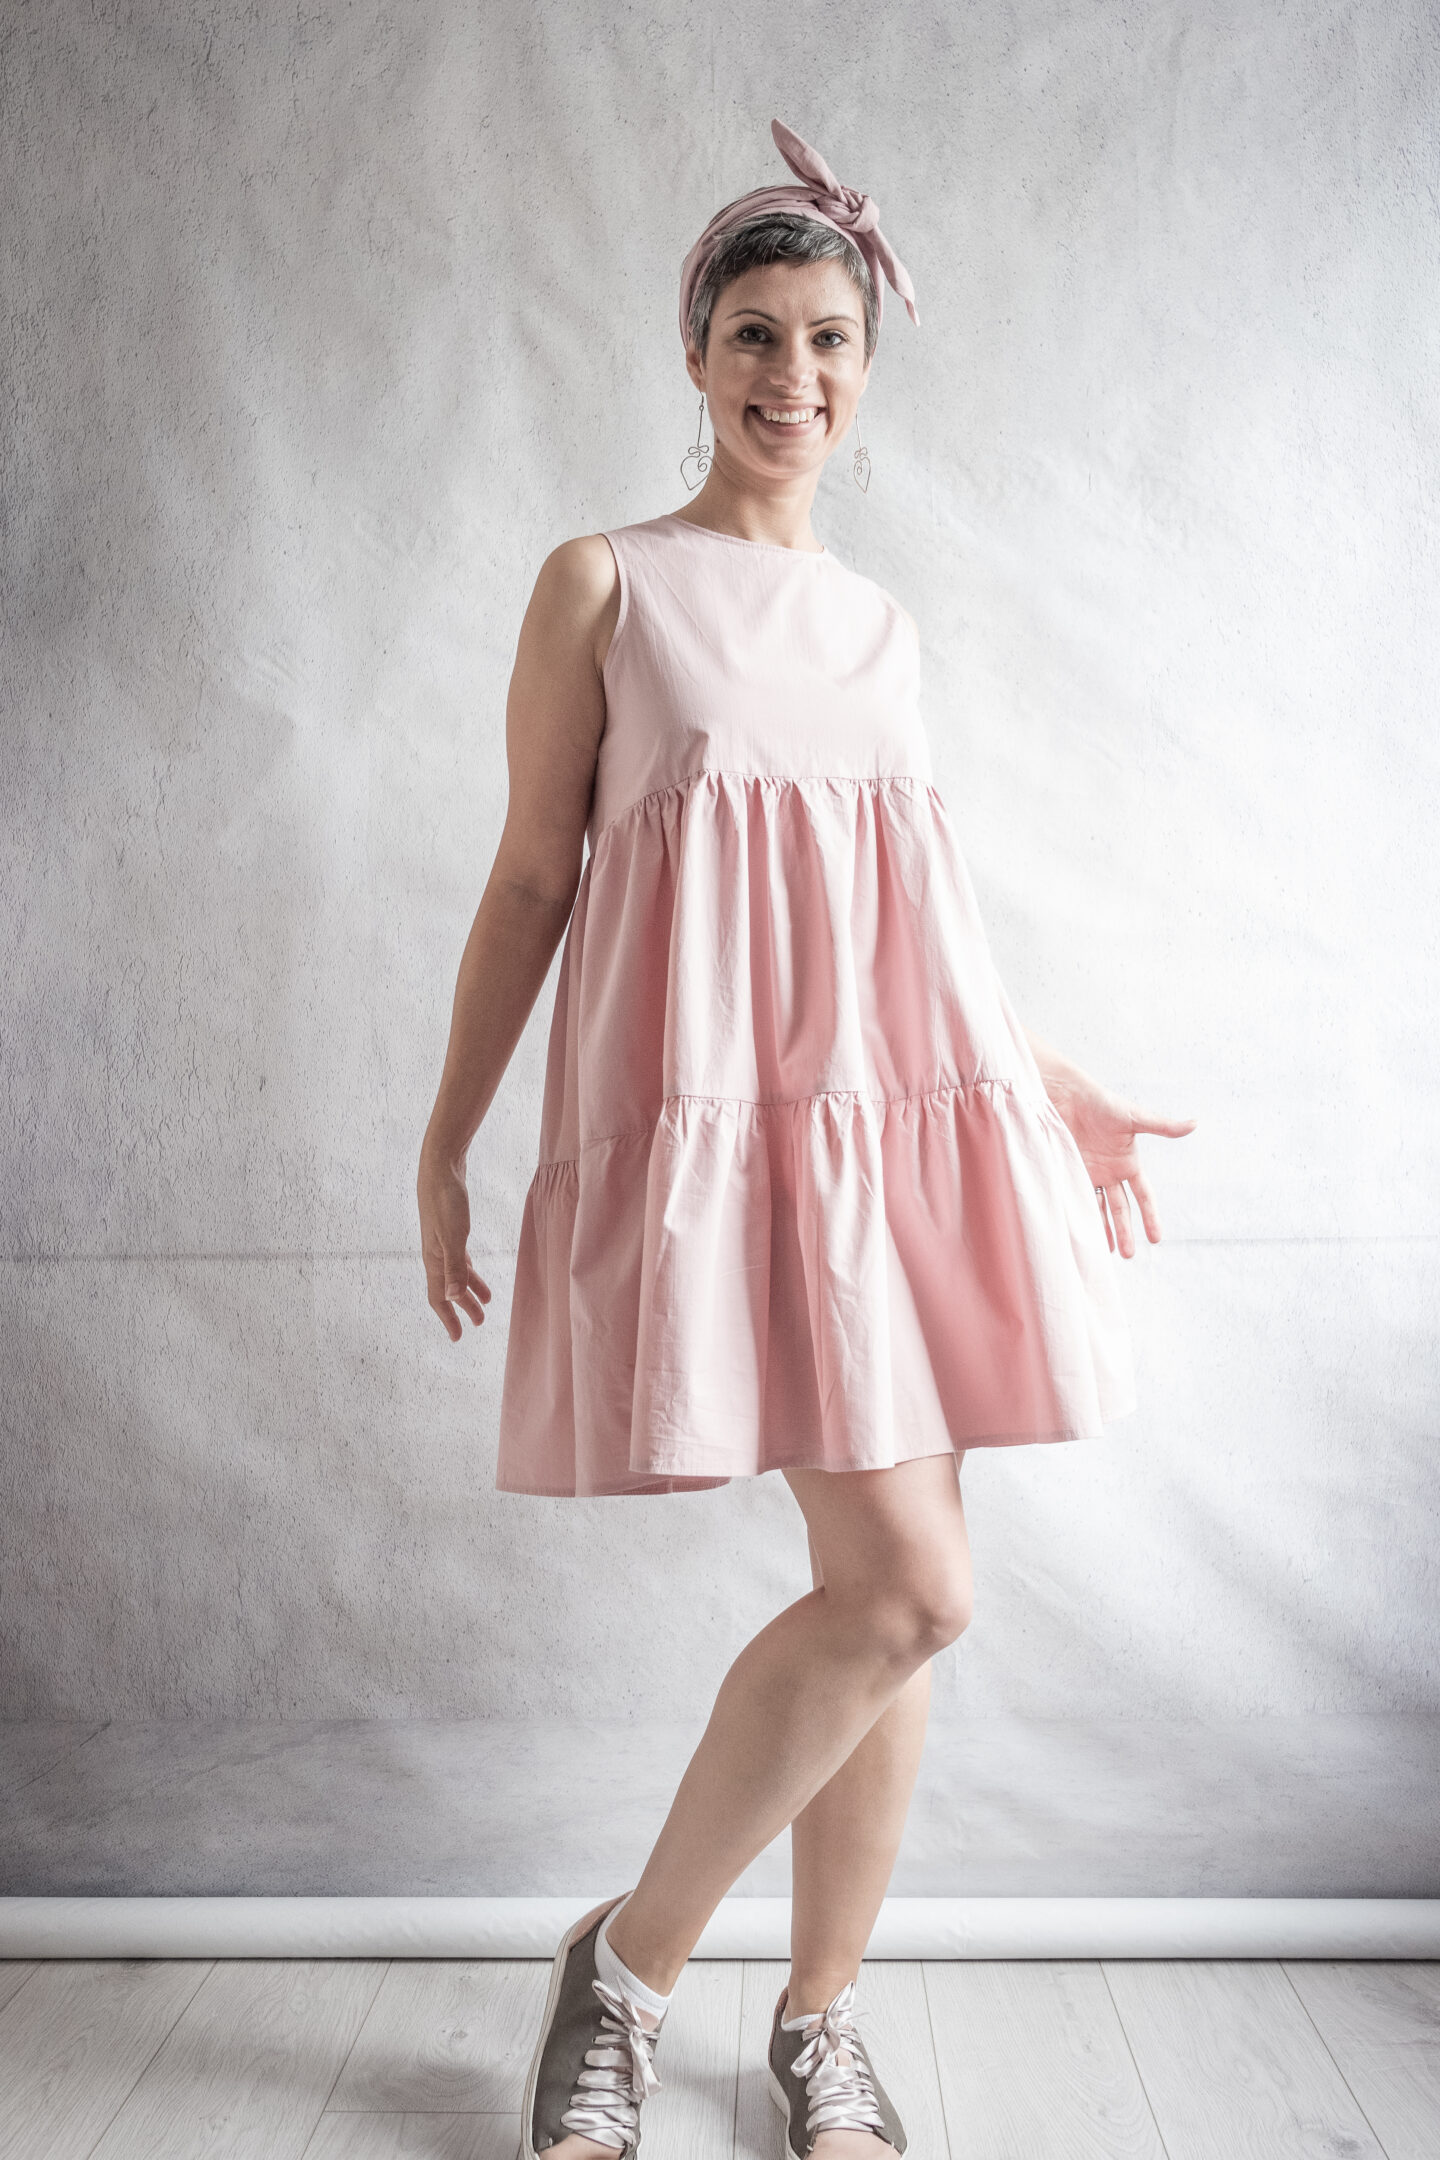
I have worn this dress a few times this summer and it just makes me happy every time I put it on. I’m not sure if it’s the colour, the swishy layers or the babydoll line, but I just love it.
It crinkles like the dickens, and it doesn’t iron for love nor money, but who cares when it makes me feel so good?
I also love how the firmer poplin works with the gathers, giving them even more body. Yet, they stay swishy and fun. Perfect fabric choice!
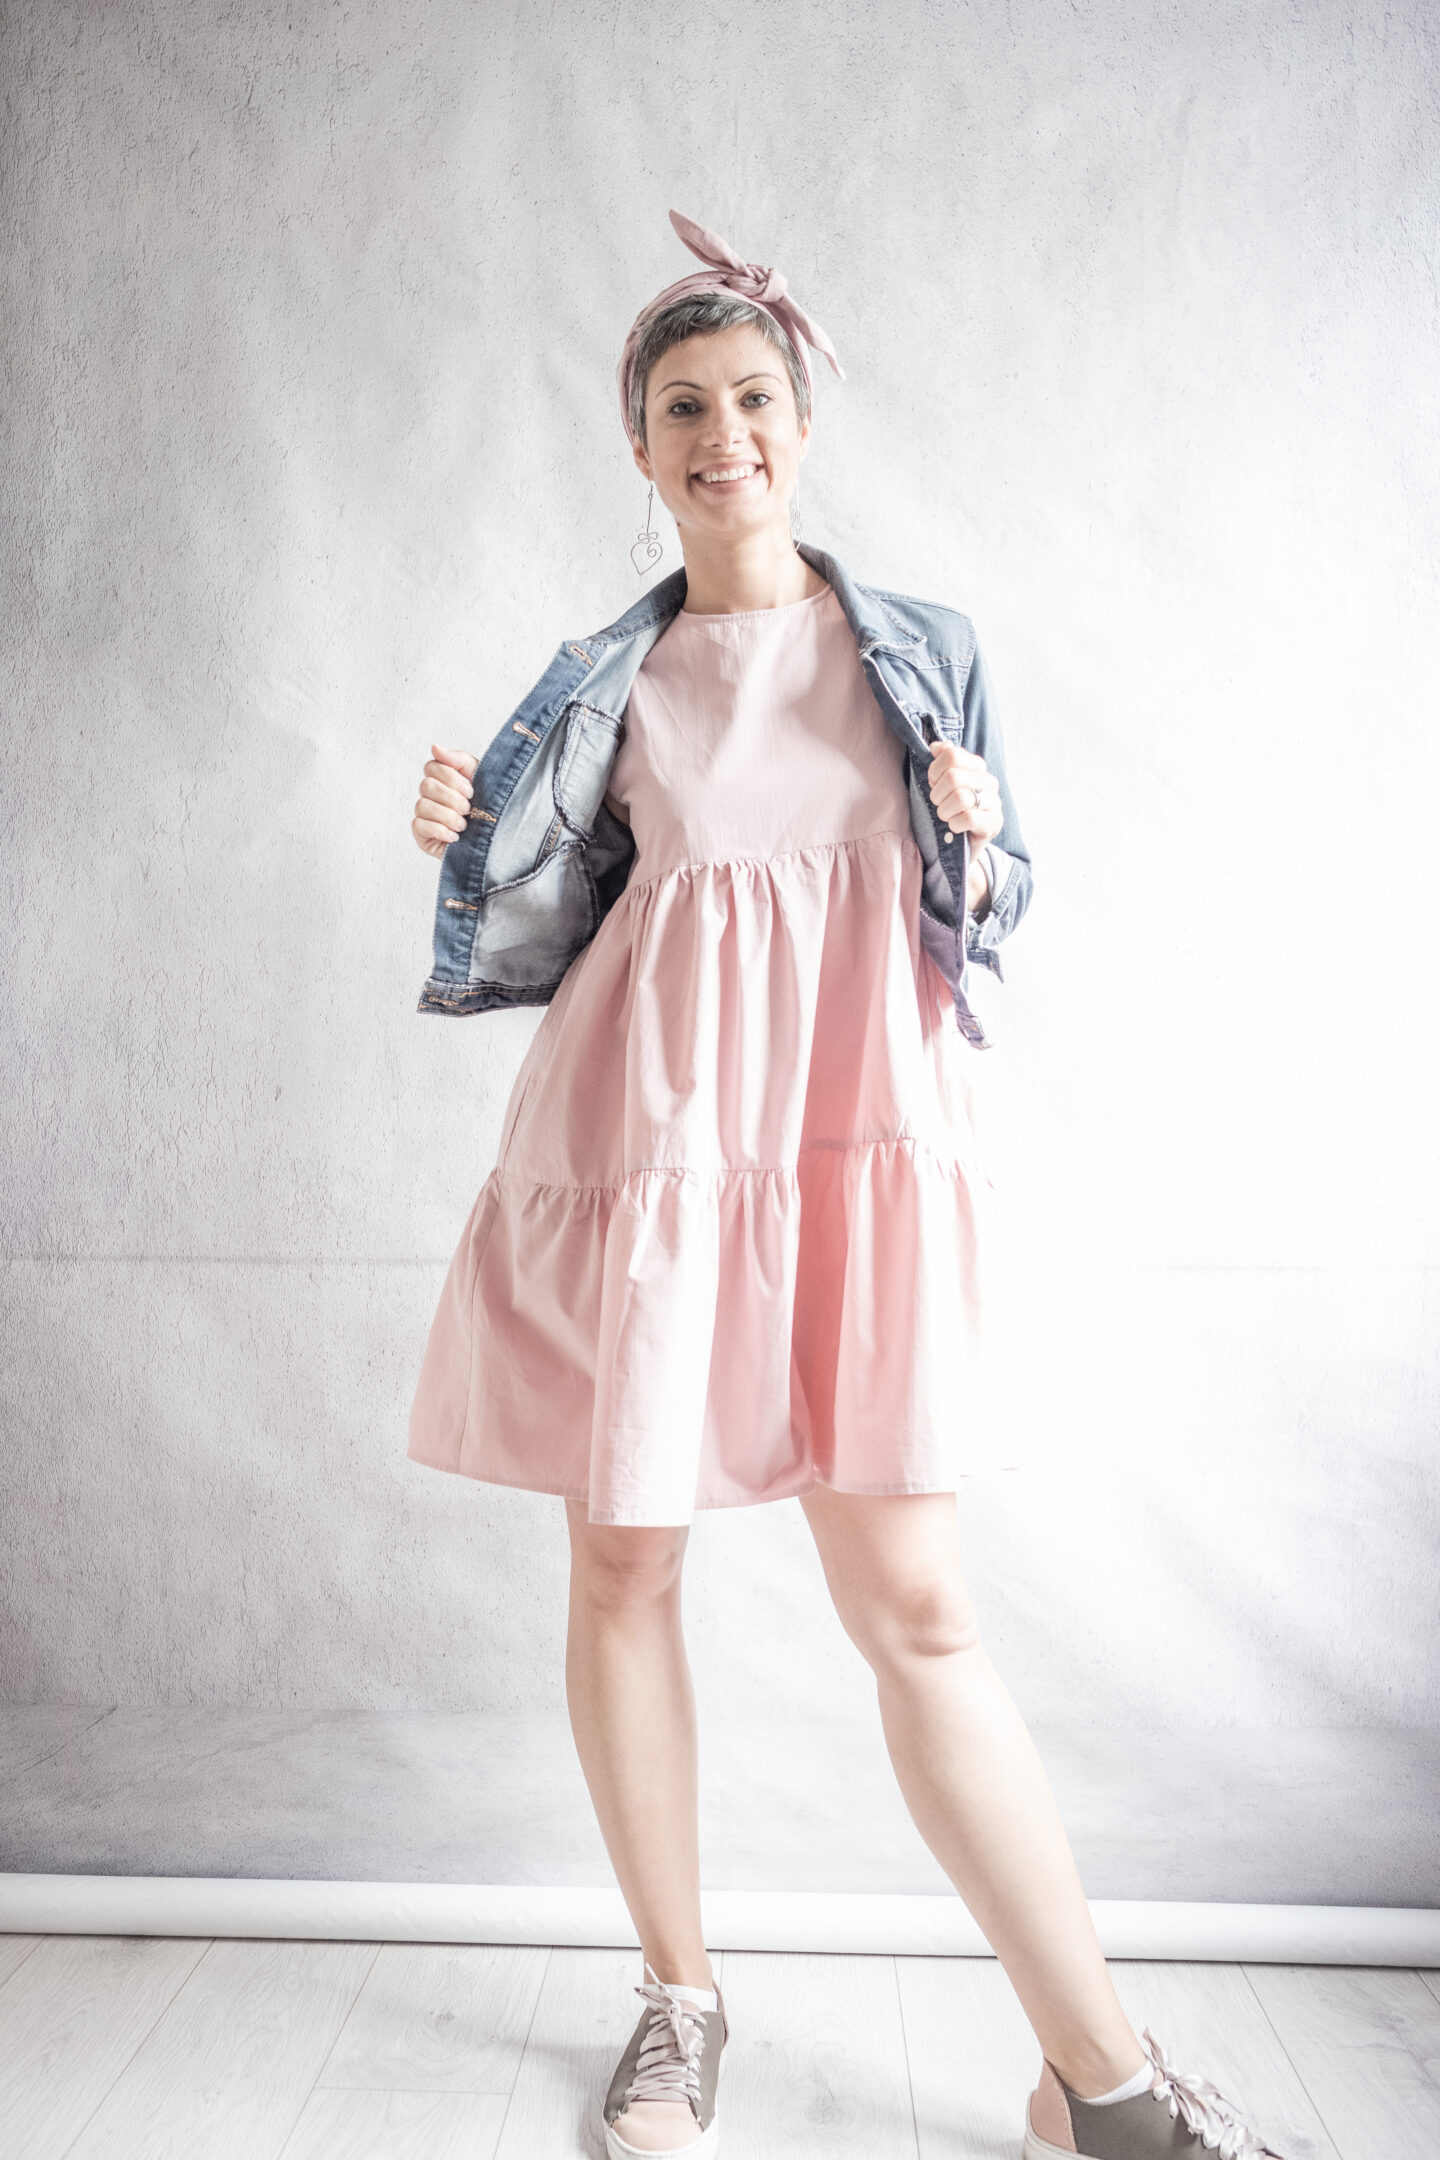
Every time I wore it, I was in a comfort mood, so I ended up pairing it with my beloved Sneaker Kit trainers in pink and grey. The pink leather works so well with the pink of the dress.
I had a bit of a leftover fabric, so I also decided to make a headband, to be worn with the ties upwards like little bunny ears. I know it doesn’t work as well with short hair, but I still love my bunny ears!

For chillier nights, I layered it with my trusted cropped denim jacket and I think it works nicely with the babydoll shape.

Overall, a very successful make, not that I had any doubts! I love it when a plan comes together and the end result is as you first envisaged it!
FIBRE MOOD MIRA SUMMARY
PATTERN: Fibre Mood Mira, size 38, from Fibre Mood Magazine
FABRIC: Cotton poplin, dyed with Dylon Plum Red hand dye
ALTERATIONS: Forward shoulder adjustment; removed sleeves and scooped the armholes; lengthened bodice by 1” and each tier by 2”
WHAT ARE YOUR EXPERIENCES WITH DYEING FABRIC? HOW ABOUT GATHERING? WHAT ARE YOUR FAVOURITE METHODS? TELL ME IN COMMENTS.
ENJOYED THIS POST?

